
외로운 Nova의 작업실
안드로이드 앱 프로그래밍 - 28(바인딩 서비스) 본문
- IBinder 객체 바인딩
앞 장에서 살펴본것 처럼 서비스를 실행하는 함수를 2개 제공하는 이유는 서비스를 이용하는 상황을 2가지로 구분하기 위해서입니다. 다음 그림처럼 액티비티에서 startService()함수로 서비스를 실행했다고 가정해봅시다.

이처럼 백그라운드 작업은 필요하지만 액티비티와 데이터를 주고받을 일이없는 등 서로 관련이 없다면 startService()함수로 서비스를 실행하면 됩니다. 그런데 어떤 경우에는 서비스와 액티비티가 상호작용 해야할때가 있습니다. bindeService()는 이러한 목적으로 호출하는 함수입니다.

- 실습
메인 액티비티.xml에 service라는 텍스트뷰를두고 원래는 service return 이라는 문자열이 이였다가 서비스쪽에 의해 문자열이 바뀌는 코드를 짜보도록 하겠습니다. 아래는 메인액티비티.kt 파일입니다.
class MainActivity : AppCompatActivity() {

    lateinit var servideBinder: MyService.MyBinder

    override fun onCreate(savedInstanceState: Bundle?) {
        super.onCreate(savedInstanceState)
        var Binding = ActivityMainBinding.inflate(layoutInflater)
        setContentView(Binding.root)

        //서비스에게서 객체를 전달받음
        val connection: ServiceConnection = object : ServiceConnection{
            override fun onServiceConnected(name: ComponentName?, service: IBinder?) {
                servideBinder = service as MyService.MyBinder

                //무조건 그 결과값을 다른 변수에 저장하고 사용해야합니다.
                val result = servideBinder.funB(10).toString()
                Binding.service.text = result
            }

            override fun onServiceDisconnected(name: ComponentName?) {

            }
        }
        //서비스실행
        val intent = Intent(this, MyService::class.java)
        bindService(intent, connection, Context.BIND_AUTO_CREATE)
    }


}
아래는 메인 액티비티.xml파일입니다.
<?xml version="1.0" encoding="utf-8"?>
<androidx.constraintlayout.widget.ConstraintLayout xmlns:android="http://schemas.android.com/apk/res/android"
    xmlns:app="http://schemas.android.com/apk/res-auto"
    xmlns:tools="http://schemas.android.com/tools"
    android:id="@+id/result"
    android:layout_width="match_parent"
    android:layout_height="match_parent"
    tools:context=".MainActivity">

    <TextView
        android:id="@+id/service"
        android:layout_width="wrap_content"
        android:layout_height="wrap_content"
        android:text="service return"
        app:layout_constraintBottom_toBottomOf="parent"
        app:layout_constraintEnd_toEndOf="parent"
        app:layout_constraintHorizontal_bias="0.498"
        app:layout_constraintStart_toStartOf="parent"
        app:layout_constraintTop_toTopOf="parent" />

</androidx.constraintlayout.widget.ConstraintLayout>
아래는 Myservice.kt 파일입니다.
class MyService: Service(){
    class MyBinder : Binder(){
        fun funA(arg: Int){

        }
        fun funB(arg: Int): Int{
            return (arg * arg)
        }
    }
    override fun onBind(intent: Intent?): IBinder? {
        return MyService.MyBinder()
    }
}
아래는 실행화면입니다.

- Messenger 바인딩
IBinder를 구현한 객체를 바인딩할 수 있찌만 안드로이드에서 제공하는 Messenger 객체를 바인딩하는 방법도 있습니다. Messenger 객체는 프로세스간 통신할때도 사용됩니다. 한번 Messenger를 사용해서 서비스와 바인딩해보겠습니다. 먼저 Myservice.kt 파일입니다.
class MyService: Service(){
    lateinit var messenger: Messenger  //액티비티에 전달할 메시지 객체
    internal class IncomingHandler(     //Message 객체를 만들때 필요한 핸들러
        context: Context,
        private val applicationContext: Context = context.applicationContext
    ) : Handler(Looper.getMainLooper()){
        override fun handleMessage(msg: Message){
            when(msg.what){
                10 ->
                    Toast.makeText(applicationContext, "${msg.obj}", Toast.LENGTH_SHORT).show()

                20 ->
                    Toast.makeText(applicationContext, "${msg.obj}", Toast.LENGTH_SHORT).show()

                else -> super.handleMessage(msg)
            }
        }
    }

    override fun onBind(intent: Intent?): IBinder? {
        messenger = Messenger(IncomingHandler(this))
        return messenger.binder
    }
}
다음은 메인액티비티.kt 파일입니다.
class MainActivity : AppCompatActivity() {
lateinit var messenger: Messenger //서비스에게 받을 메신저 객체
override fun onCreate(savedInstanceState: Bundle?) {
super.onCreate(savedInstanceState)
var Binding = ActivityMainBinding.inflate(layoutInflater)
setContentView(Binding.root)
//서비스에게서 객체를 전달받음
val connection: ServiceConnection = object : ServiceConnection{
override fun onServiceConnected(name: ComponentName?, service: IBinder?) {
messenger = Messenger(service) //서비스로부터 메신저 받기
}
override fun onServiceDisconnected(name: ComponentName?) {
}
}
//서비스실행
val intent = Intent(this, MyService::class.java)
bindService(intent, connection, Context.BIND_AUTO_CREATE)
//버튼 클릭시 서비스 이용
Binding.clickMe.setOnClickListener(){
val msg = Message()
msg.what = 10
msg.obj = "hello"
messenger.send(msg)
}
}
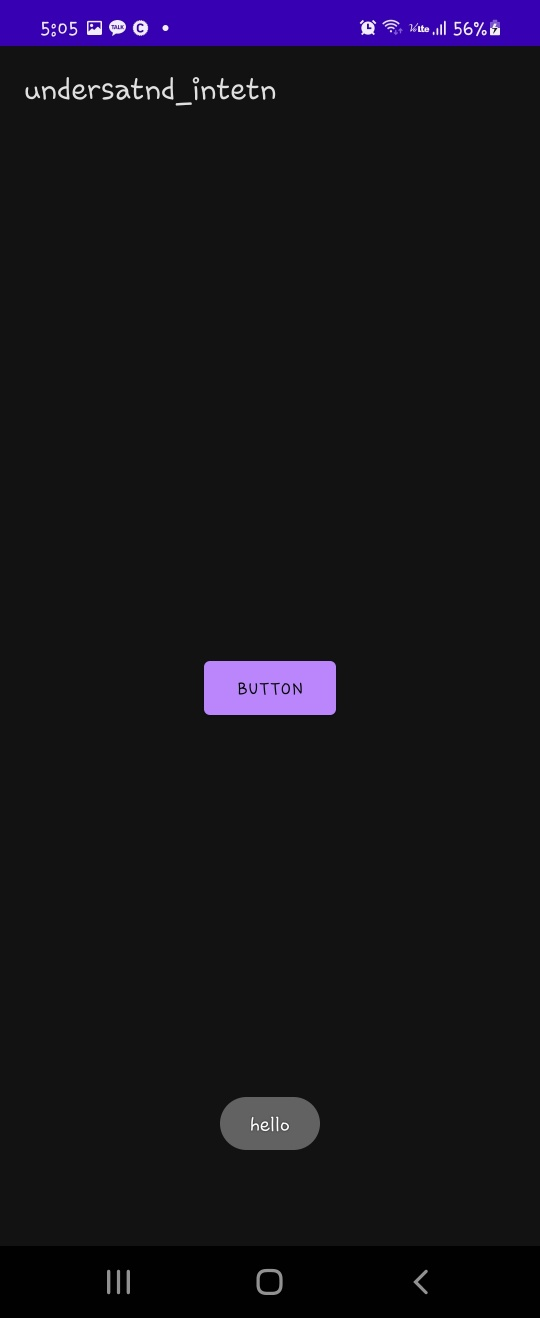
}다음은 메인 액티비티.xml 파일입니다.
<?xml version="1.0" encoding="utf-8"?>
<androidx.constraintlayout.widget.ConstraintLayout xmlns:android="http://schemas.android.com/apk/res/android"
    xmlns:app="http://schemas.android.com/apk/res-auto"
    xmlns:tools="http://schemas.android.com/tools"
    android:id="@+id/result"
    android:layout_width="match_parent"
    android:layout_height="match_parent"
    tools:context=".MainActivity">

    <Button
        android:id="@+id/clickMe"
        android:layout_width="wrap_content"
        android:layout_height="wrap_content"
        android:text="Button"
        app:layout_constraintBottom_toBottomOf="parent"
        app:layout_constraintEnd_toEndOf="parent"
        app:layout_constraintStart_toStartOf="parent"
        app:layout_constraintTop_toTopOf="parent" />
</androidx.constraintlayout.widget.ConstraintLayout>
아래는 실제 실행 화면입니다.
- 외부앱 연동
외부의 서비스 및 프로세스와 바인딩할때를 한번 알아보겠습니다. 먼저 서비스를 하는 앱에 인텐트 필터를 선언합니다.
<service android:name=".MyService"
            android:enabled="true"
            android:exported="true">
            <intent-filter>
                <action android:name="ACTION_OUTER_SERVICE"/>
            </intent-filter>
        </service>
또한 실행할 앱에 <package> 태그를 사용해서 bindService() 함수로 발생하는 인텐트에 실행대상인 앱의 패키지명을 명시합니다.
            <queries>
                <package android:name="com.example.undersatnd_intetn" />
            </queries>
이제 서비스를 요청할 앱에서는 인텐트필터에 맞는 인텐트와 패키지를 설정해줍니다.
   val intent = Intent("ACTION_OUTER_SERVICE")
    intent.setPackge("com.exmple.understand_intetn")
    bindService(intent, connection, Context.BIND_AUTO_CREATE)
단, 프로세스간 통신에서 주고받는 데이터는 Bundle 타입이영합니다. 따라서 다음 데이터를 Bundle에 담고 Message 객체에 담아서 전달합니다.
            val bundle = Bundle()
            bundle.putString("data1", "hello")
            bundle.putInt("data2", 10)

            val msg = Message()
            msg.what = 10
            msg.obj = bundle
messenger.send(msg)'Programming > Kotlin - Android' 카테고리의 다른 글
| 안드로이드 앱 프로그래밍 - 30(잡 스케줄러) (0) | 2023.02.23 |
|---|---|
| 안드로이드 앱 프로그래밍 - 29(백그라운드 제약) (0) | 2023.02.22 |
| 안드로이드 앱 프로그래밍 - 27(서비스 이해하기) (0) | 2023.02.16 |
| 안드로이드 앱 프로그래밍 - 26(시스템 상태 파악하기) (0) | 2023.02.15 |
| 안드로이드 앱 프로그래밍 - 25(브로드캐스트 리시버 이해하기) (0) | 2023.02.14 |


