
외로운 Nova의 작업실
안드로이드 앱 프로그래밍 - 33(데이터베이스에 보관하기) 본문
- 저장소
안드로이드 기기에 데이터를 저장하는 방법은 크게 3가지로 나뉩니다. 데이터베이스, 파일, 프리퍼런스를 이용하는 방법입니다. 모두 자주 사용하므로 각각의 특징과 구현 방법을 살펴보겠습니다. 이번장에서는 데이터베이스를 사용하는 방법입니다.
- 데이터베이스
안드로이드폰에서 이용하는 데이터베이스 관리 시스템은 오픈소스로 만들어진 SQLite입니다. 외부앱에서는 접근할 수 없습니다. 코드에서는 SQL 질의문만 작성하면되고 실제 데이터는 SQLite가 관리해줍니다.
- 질의문 작성하기
질의문을 어떻게 작성하는지 먼저 코드로 보겠습니다.
        val db = openOrCreateDatabase("age", Context.MODE_PRIVATE, null)

        //create table
        db.execSQL("create table USERS("+
                        "name text not null," +
                        "age text not null)")
        //insert data
        db.execSQL("insert into USERS (name, age) values (?,?)", arrayOf<String>("Nova", "42"))
        db.execSQL("insert into USERS (name, age) values (?,?)", arrayOf<String>("hacker", "33"))

        //select data
        Binding.queryDB.setOnClickListener(){
            val cursor = db.rawQuery("select * from USERS", null)
            if(cursor.moveToFirst()){
                val name = cursor.getString(0)
                val age = cursor.getString(1)

                //view data
                Binding.name.text = name
                Binding.age.text = age
            }
        }
데이터베이스 객체는 openOrCreateDatabase()함수를 호출해서 얻습니다. 첫번째 매개변수는 데이터베이스의 이름입니다. 만약 age데이터베이스가 있다면 가져오고 없다면 만들어줍니다.
데이터베이스 객체를 얻었다면 쿼리문을 보낼 수 있습니다. execSQL()함수와 rawQuery()함수를 이용해서 쿼리문을 보냅니다. execSQL()함수의 첫번째 매개변수에는 쿼리문이 들어가고 두번째 매개변수에는 ?에 들어갈 변수를 넣어줍니다. rawQuery()함수는 데이터베이스에서 데이터를 찾고 행렬로 데이터를 가져옵니다. 이때 반환값은 Cursor 객체로 cursor로 담아줍니다. 이후 cursor객체를 다루는 함수는 아래와 같습니다.
- MoveToFirset() : 첫번째 행을 선택합니다.
- moveToLast() : 마지막 행을 선택합니다.
- moveToNext() : 다음 행을 선택합니다.
- moveToPosition(int position) : position 행으로 이동합니다.
- moveToPrevious() : 이전 행을 선택합니다.
이후 행을 선택했다면 칼럼값을 가져올텐데, 이때는 getString(), getInt()함수등을 사용해서 가져옵니다.
- 예제
아래는 데이터베이스에서 값을 가져와서 액티비티에 보여주는 간단한 코드입니다. 먼저 액티비티.kt파일입니다.
class MainActivity : AppCompatActivity() {
override fun onCreate(savedInstanceState: Bundle?) {
super.onCreate(savedInstanceState)
val Binding = ActivityMainBinding.inflate(layoutInflater)
setContentView(Binding.root)
//createDB
val db = openOrCreateDatabase("age", Context.MODE_PRIVATE, null)
//create table
db.execSQL("create table USERS("+
"name text not null," +
"age text not null)")
//insert data
db.execSQL("insert into USERS (name, age) values (?,?)", arrayOf<String>("Nova", "42"))
db.execSQL("insert into USERS (name, age) values (?,?)", arrayOf<String>("hacker", "33"))
//select data
Binding.queryDB.setOnClickListener(){
val cursor = db.rawQuery("select * from USERS", null)
if(cursor.moveToFirst()){
val name = cursor.getString(0)
val age = cursor.getString(1)
//view data
Binding.name.text = name
Binding.age.text = age
}
}
}
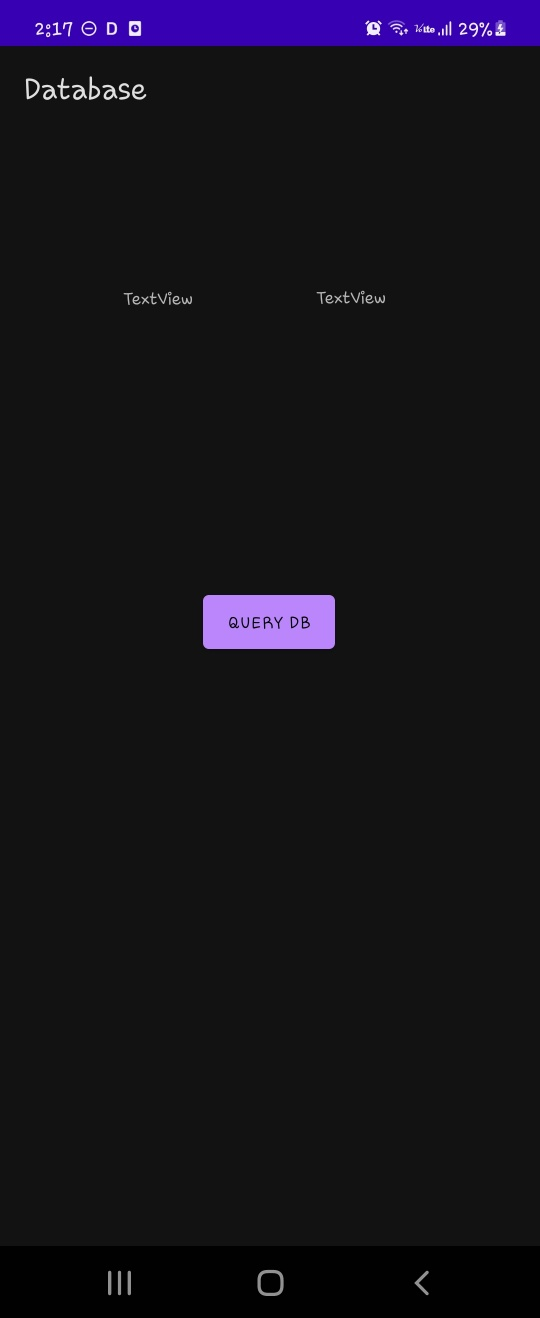
}아래는 메인액티비티.xml 파일입니다.
<?xml version="1.0" encoding="utf-8"?>
<androidx.constraintlayout.widget.ConstraintLayout xmlns:android="http://schemas.android.com/apk/res/android"
xmlns:app="http://schemas.android.com/apk/res-auto"
xmlns:tools="http://schemas.android.com/tools"
android:layout_width="match_parent"
android:layout_height="match_parent"
tools:context=".MainActivity">
<TextView
android:id="@+id/name"
android:layout_width="wrap_content"
android:layout_height="wrap_content"
android:text="TextView"
app:layout_constraintBottom_toBottomOf="parent"
app:layout_constraintEnd_toStartOf="@+id/age"
app:layout_constraintHorizontal_bias="0.502"
app:layout_constraintStart_toStartOf="parent"
app:layout_constraintTop_toTopOf="parent"
app:layout_constraintVertical_bias="0.143" />
<TextView
android:id="@+id/age"
android:layout_width="59dp"
android:layout_height="19dp"
android:text="TextView"
app:layout_constraintBottom_toBottomOf="parent"
app:layout_constraintEnd_toEndOf="parent"
app:layout_constraintHorizontal_bias="0.701"
app:layout_constraintStart_toStartOf="parent"
app:layout_constraintTop_toTopOf="parent"
app:layout_constraintVertical_bias="0.143" />
<Button
android:id="@+id/queryDB"
android:layout_width="wrap_content"
android:layout_height="wrap_content"
android:layout_marginBottom="392dp"
android:text="query DB"
app:layout_constraintBottom_toBottomOf="parent"
app:layout_constraintEnd_toEndOf="parent"
app:layout_constraintHorizontal_bias="0.498"
app:layout_constraintStart_toStartOf="parent" />
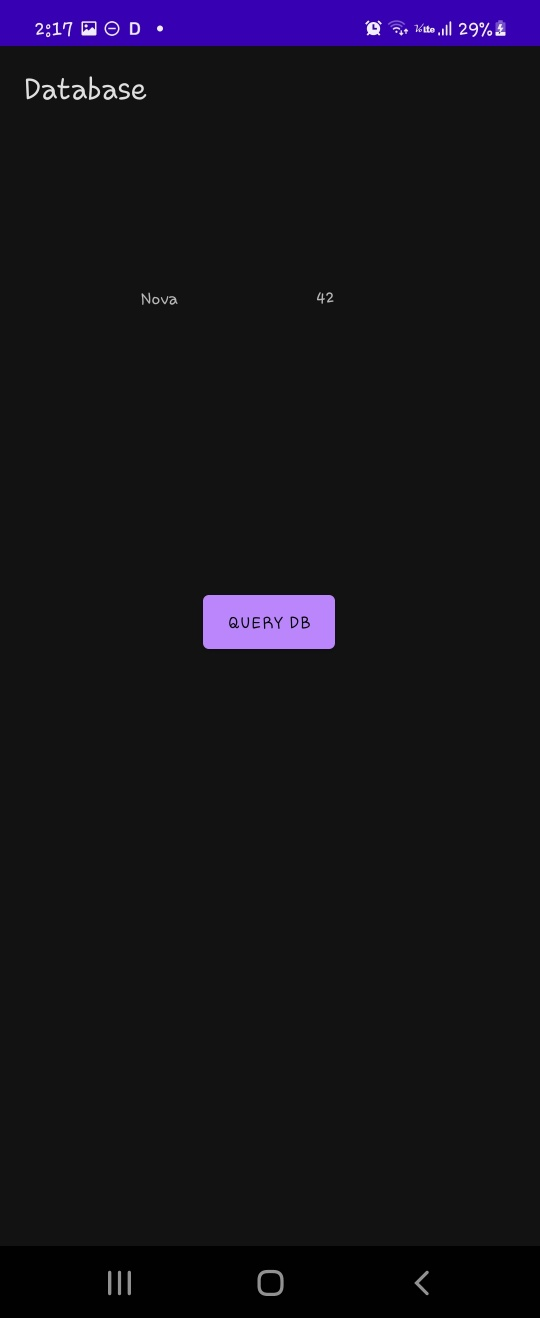
</androidx.constraintlayout.widget.ConstraintLayout>아래는 실행화면입니다.

- query() 함수
rawQuery()함수말고도 query()함수를 통해 질의문을 만들어 실행할 수 있습니다. 아래는 query()함수를 사용하는 예시입니다.
val cursor = db.query("USERS", arrayOf<String>("name","age"), "name=?", arrayOf<String>("Nova"), null, null, null)query()함수의 각 매개변수는 다음과 같습니다.
table : 죄회할 테이블 명입니다.
columns : 가져올 값이 담긴 열의 이름을 배열로 지정합니다.
selection : select 문의 where 절 뒤에 들어갈 문자열입니다.
selectionArgs : 질의문에서 ?에 들어갈 데이터 배열입니다.
groupBy : select 문의 group by 절 뒤에 들어갈 문자열입니다.
having : select 문의 having 조건입니다.
order By : select 문의 order By 조건입니다.
- 데이터베이스 관리하기
데이터베이스를 사용할때 처음에는 테이블을 만들고 데이터값을 넣습니다. 이러한 부분은 항상 처음에 일어나므로 따로 관리해주면좋습니다. 또한 테이블을 생성하고 변경하고 제거하는 것도 사용자와 상호작용하지않는 부분이기에 따로 관리해주면 좋습니다. 이를 위해 SQLiteOpenHelper()를 이용할 수 있습니다. 아래는 DBhelper.kt 파일입니다.
class DBHelper(context: Context): SQLiteOpenHelper(context, "USERS", null, 1) {
    override fun onCreate(db: SQLiteDatabase) {

        //create table
        db.execSQL("create table USERS("+
                "name text not null," +
                "age text not null)")
        //insert data
        db.execSQL("insert into USERS (name, age) values (?,?)", arrayOf<String>("Nova", "42"))
        db.execSQL("insert into USERS (name, age) values (?,?)", arrayOf<String>("hacker", "33"))
    }

    override fun onUpgrade(db: SQLiteDatabase?, oldVersion: Int, newVersion: Int) {

    }
}
SQLiteOpenHelper를 상속받고 oncreate()와 onUpgrade()함수를 오바리이딩 해줍니다. 이때 oncreate()는 앱이 설치된 후 SQLiteOpenHelper를 이용하는 순간 한번 만 호출되고 onUpgrade()함수는 DB 버전 정보가 변경될때 호출합니다. DB 버전 정보는 맨위의 SQLiteOpenHelper()의 인자중 마지막 값입니다. 이는 개발자가 임의로 정할 수 있습니다. 또한, 두번째 인자값은 데이터베이스의 이름입니다. 이렇게 oncreate()함수에 db의 초기 설정 코드를 넣어줄 수 있습니다. 이후 실제 사용하는건 DBhelper를 통해 이용합니다. 아래는 메인액티비티.kt파일입니다.
class MainActivity : AppCompatActivity() {
    override fun onCreate(savedInstanceState: Bundle?) {
        super.onCreate(savedInstanceState)
        val Binding = ActivityMainBinding.inflate(layoutInflater)
        setContentView(Binding.root)

        //get db
        val db: SQLiteDatabase = DBHelper(this).writableDatabase

        //select data
        Binding.queryDB.setOnClickListener(){
            val cursor = db.rawQuery("select * from USERS", null)
            if(cursor.moveToFirst()){
                val name = cursor.getString(0)
                val age = cursor.getString(1)

                //view data
                Binding.name.text = name
                Binding.age.text = age
            }
        }


    }


}
DBhelper를 통해 받아온 db값에서 데이터를 추출할 수 있습니다. 아래는 실행화면입니다.

'Programming > Kotlin - Android' 카테고리의 다른 글
| 안드로이드 앱 프로그래밍 - 35(공유된 프리퍼런스에 보관하기) (0) | 2023.03.03 |
|---|---|
| 안드로이드 앱 프로그래밍 - 34(파일에 보관하기) (0) | 2023.03.01 |
| 안드로이드 앱 프로그래밍 - 32(안드로이드 기본앱과 연동하기) (0) | 2023.02.27 |
| 안드로이드 앱 프로그래밍 - 31(콘텐츠 프로바이더 이해하기) (0) | 2023.02.24 |
| 안드로이드 앱 프로그래밍 - 30(잡 스케줄러) (0) | 2023.02.23 |


