외로운 Nova의 작업실
안드로이드 앱 프로그래밍 - 8(리소스의 종류와 특징) 본문
- 리소스
앱에서 사용하는 리소스는 크게 앱 리소스와 플랫폼 리소스로 구분됩니다.
- 앱리소스
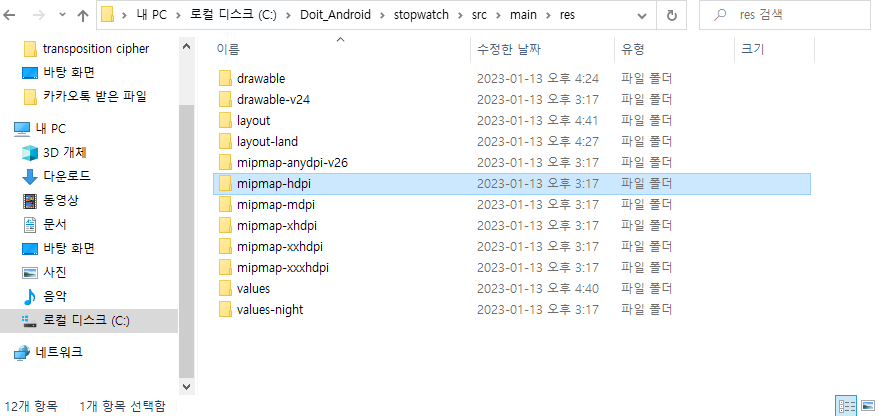
앱을 개발하기위해 모듈을 만들면 자동으로 res라는 디렉터리가 생기고 그아래에 drawable, layout, mimmap, values라는 3개의 디렉터리가 생성됩니다. 이는 기본적으로 만들어지지만 사실 리소스파일의 종류는 더 많습니다. 다양한 리소스 디렉터리를 res 아래에 만들어 쓸 수 있지만 이름들은 임의로 정할 수 없고 고정되어 있습니다. 아래는 그에따른 자료입니다.
| 디렉터리명 | 리소스종류 |
| animator | 속성 애니메이션 XML |
| anim | 트윈 애니메이션 XML |
| color | 색상 상태 목록 정의 XML |
| drawable | 이미지 리소스 |
| mipmap | 앱 실행 아이콘 리소스 |
| layout | 레이아웃 XML |
| menu | 메뉴 구성 XML |
| raw | 원시 형태로 이용되는 리소스 파일 |
| values | 단순 값으로 이용되는 리소스 |
| xml | 특정 디렉터리가 정의되지 않은 나머지 XML 파일 |
| font | 글꼴 리소스 |
<리소스 사용하기>
values 디렉터리만 빼면 리소스는 파일의 이름으로 사용합니다. 방법은 아래와 같습니다.
drawable>round_botton.xml
<?xml version="1.0" encoding="utf-8"?>
<shape xmlns:android="http://schemas.android.com/apk/res/android"
    android:shape="rectangle"
    android:padding = "10dp">
    <solid android:color="#6666FF"></solid>
    <corners
        android:bottomLeftRadius="30dp"
        android:bottomRightRadius="30dp"
        android:topLeftRadius="30dp"
        android:topRightRadius="30dp"></corners>
</shape>
activity_main.xml
  <Button
                android:layout_width="wrap_content"
                android:layout_height="wrap_content"
                android:id="@+id/startButton"
                android:background="@drawable/round_botton"
                android:text="start"
                android:textStyle="bold"/>
위처럼 보통은 리소스에 접근할때 파일의 이름으로 접근하지만 values 리소스의 경우 name으로 접근합니다.
<valuse 리소스 사용법>
res>valuse>strings.xml
<resources>
    <string name="app_name">stopwatch</string>
    <string name="txt_data1">hello</string>
    <string name="txt_data2">world</string>
</resources>
activity_main.xml
<TextView
            android:layout_width="wrap_content"
            android:layout_height="wrap_content"
            android:text="@string/txt_data1"/>
- 플랫폼 리소스 사용하기
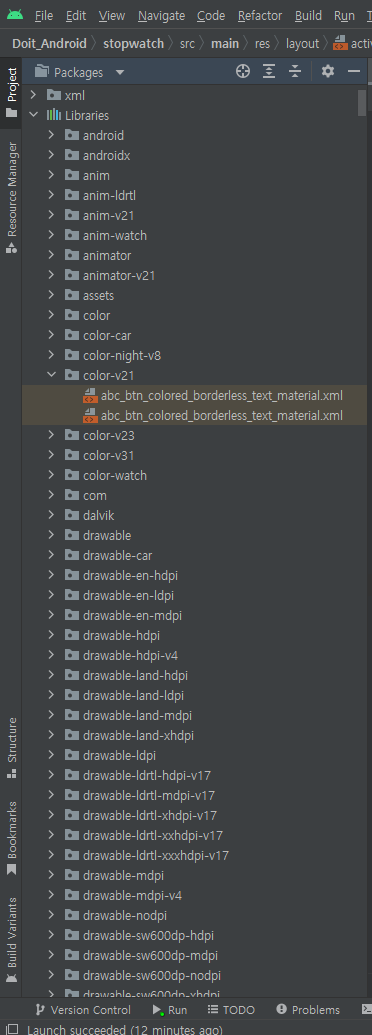
Package를 눌러 Libraries를 보면 플랫폼 리소스가 있습니다.
- 리소스 조건 설정
리소스 조건 설정이란 어떤 리소스를 특정환경에서만 적용되도록 설정하는 것을 말합니다. 이것은 파일의 이름으로 설정할 수 있습니다. 보통 mipmap의 경우 기기별 실행 아이콘 크기가 다르기때문에 각각 크기에 맞는 이미지를 설정해줘야합니다. 다만, mipmap은 기본적으로 조건 설정 폴더가 잘만들어져있습니다.
아래는 기기별 실행 아이콘 크기입니다.
| 화면 밀도 | 크기 |
| XXXHDPI | 192x192 |
| XXHDPI | 144x144 |
| XHDPI | 96x96 |
| HDPI | 48x48 |
| MDPI | 36x36 |
각각 화면밀도에 맞는 폴더에 크기를 맞춘 이미지를 넣어놓으면 안드로이드 스튜디오가 알아서 해줍니다. 이때 이미지의 이름은 모두 같아야합니다.
<화면 회전에 대응하기>
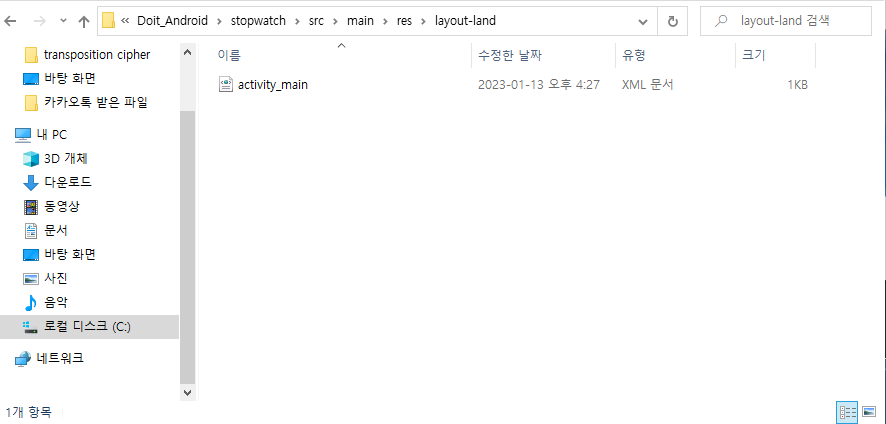
먼저 layout-land 폴더를 만들어줍니다.

세로와 가로의 xml 파일을 만들어줍니다.
//세로
<?xml version="1.0" encoding="utf-8"?>
<androidx.constraintlayout.widget.ConstraintLayout xmlns:android="http://schemas.android.com/apk/res/android"
xmlns:app="http://schemas.android.com/apk/res-auto"
xmlns:tools="http://schemas.android.com/tools"
android:layout_width="match_parent"
android:layout_height="match_parent"
tools:context=".MainActivity">
<LinearLayout
android:layout_width="match_parent"
android:layout_height="match_parent"
android:orientation="vertical">
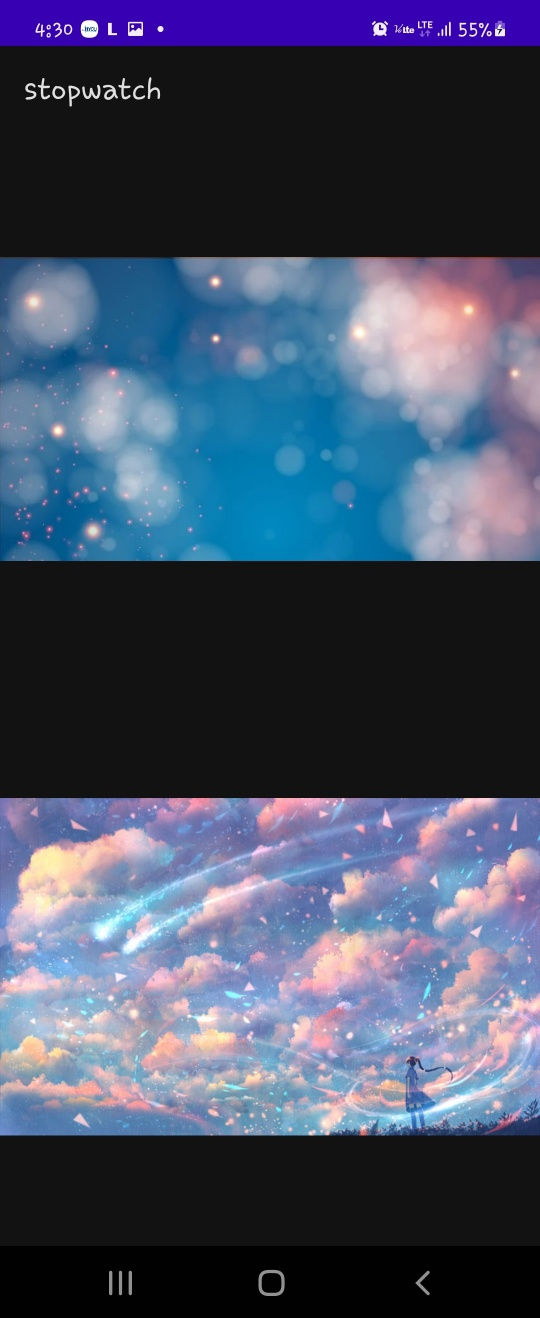
<ImageView
android:layout_width="wrap_content"
android:layout_height="0dp"
android:layout_weight="1"
android:src="@drawable/image1"/>
<ImageView
android:layout_width="wrap_content"
android:layout_height="0dp"
android:layout_weight="1"
android:src="@drawable/image2"/>
<TextView
android:layout_width="wrap_content"
android:layout_height="wrap_content"
android:text="@string/txt_data1"/>
</LinearLayout>
</androidx.constraintlayout.widget.ConstraintLayout>//가로
<?xml version="1.0" encoding="utf-8"?>
<androidx.constraintlayout.widget.ConstraintLayout xmlns:android="http://schemas.android.com/apk/res/android"
xmlns:app="http://schemas.android.com/apk/res-auto"
xmlns:tools="http://schemas.android.com/tools"
android:layout_width="match_parent"
android:layout_height="match_parent"
tools:context=".MainActivity">
<LinearLayout
android:layout_width="match_parent"
android:layout_height="match_parent"
android:orientation="horizontal">
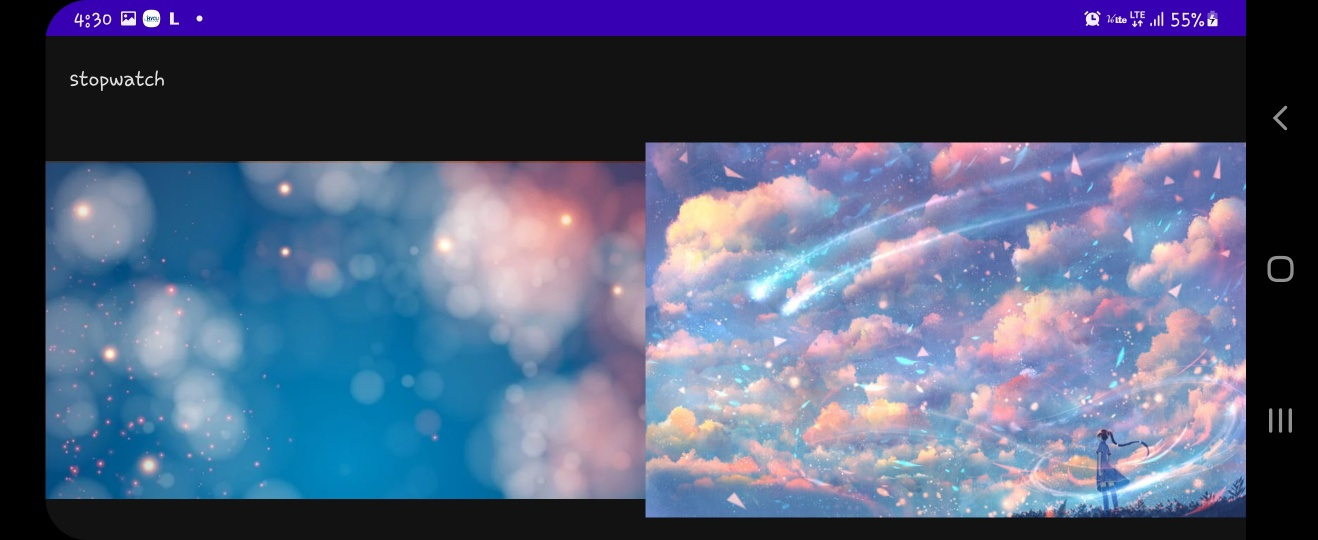
<ImageView
android:layout_width="0dp"
android:layout_height="wrap_content"
android:layout_weight="1"
android:src="@drawable/image1"/>
<ImageView
android:layout_width="0dp"
android:layout_height="wrap_content"
android:layout_weight="1"
android:src="@drawable/image2"/>
</LinearLayout>
</androidx.constraintlayout.widget.ConstraintLayout>각각 이름을 같게하여 폴더에 넣어줍니다.

이제 실행시켜봅니다.
'Programming > Kotlin - Android' 카테고리의 다른 글
| 안드로이드 앱 프로그래밍 - 10(다양한 다이얼로그) (0) | 2023.01.17 |
|---|---|
| 안드로이드 앱 프로그래밍 - 9(퍼미션 설정하기) (0) | 2023.01.16 |
| 안드로이드 앱 프로그래밍 - 7(사용자 이벤트 처리하기) (0) | 2023.01.12 |
| 안드로이드 앱 프로그래밍 - 6(뷰를 배치하는 레이아웃) (0) | 2023.01.11 |
| 안드로이드 앱 프로그래밍 - 5(뷰를 이용한 화면 구성) (0) | 2023.01.09 |


